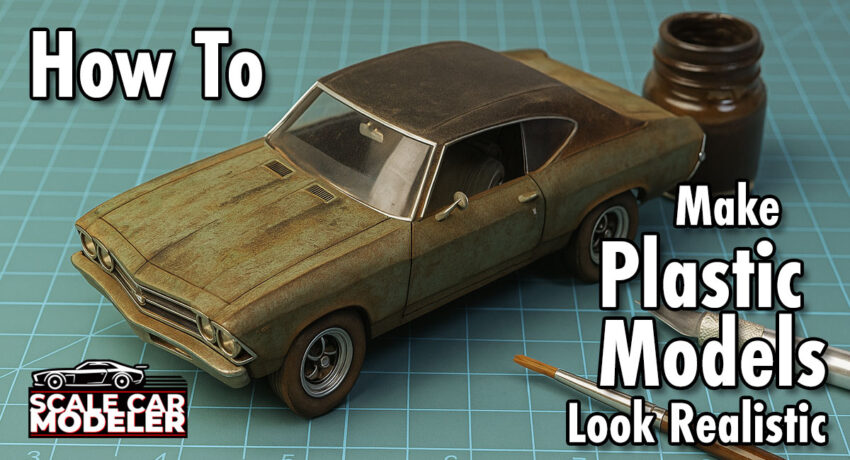
Making a plastic model look realistic takes more than gluing parts together and brushing on a coat of paint. It requires careful planning, the right tools and techniques that mimic the real-world wear, age and detail seen on actual vehicles. This guide will walk you through practical steps to give your model a more life-like appearance.
How Do I Make Plastic Models Look Realistic
Start by choosing a subject you can research. If you're building a car, truck or motorcycle, look for real photos to study surface textures, wear patterns and coloring. Use these references to guide your entire build.
Step-by-Step Process:
Clean and Prepare the Parts
Remove parts from the sprue using side cutters, then sand the edges with a fine sanding stick. Wash all parts in warm, soapy water to remove mold release agents and set aside to dry completely.
Test Fit Before Assembly
Dry fit parts before gluing to check alignment. Fix issues before they become problems.
Use the Right Adhesives
Use plastic cement for structural joints - it melts the plastic slightly and creates a stronger bond. For smaller details or clear parts, use a PVA or specialty glue. I have a whole section on the website with more information on the glues used in model kit building: Beginner’s Guide – Model Car Glues: Choosing the Right Adhesive for the Job
Prime Before Painting
Priming helps paint stick and as well as showing flaws in the build. A light gray or white primer really helps during this process. Spray in thin, even coats.
Choose the Right Paint
Use acrylics or enamels depending on your preference. Apply paint in thin layers, using an airbrush for large surfaces to avoid brush marks. For details, a fine brush works well. I have a whole section on painting as well - Beginner’s Guide – All About Painting
Add Depth with Pre-shading and Post-shading
Before your main color coat, apply a dark line along panel lines and recesses (pre-shading) using Tamiya's Panel Liner. After your main coat, darken some areas slightly (post-shading). This gives your model depth and variation.
Use Decals Correctly
Apply decals over a glossy surface to prevent silvering. Use decal setting solution (like Tamiya's Mark Fit) to help them conform to the model’s surface. Seal them in with a clear coat.
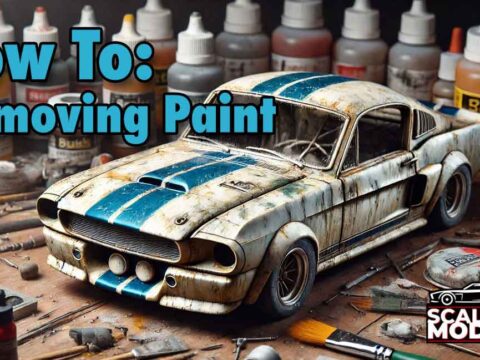
Adding Weathering Effects to a Plastic Model
Weathering is the key to realism. Real vehicles collect dirt, rust and wear over time. Your model should reflect that.
Basic Weathering Techniques:
Washes
Mix a dark paint with thinner to create a wash. Apply it to recessed areas to bring out detail. Wipe away excess with a clean cloth or cotton swab.
Dry Brushing
Dip a stiff brush in paint, wipe most of it off and lightly drag it over raised edges. This highlights corners and details, mimicking wear.
Chipping
Use a sponge or fine brush to dab small chips along edges and areas with heavy use. Apply a dark base color first, then a lighter metallic tone for depth.
Pigments and Pastels
Rub chalk pastels into dust or mud. Apply them with a dry brush or your fingers. Fix them in place with pigment fixer or a light clear coat.
Rust and Streaking
Use oil paints or weathering enamels to create rust streaks or grime. Apply a small dot, then drag it down with a soft brush dampened with thinner.
What Tools Do I Need for Plastic Model Kits
You don’t need every tool to get started, but some basics are essential for clean, accurate builds.
Core Tools:
• Sprue Cutters: Cleanly remove parts from sprue trees.
• Hobby Knife: Trim flash and mold lines.
• Tweezers: Handle small parts and decals.
• Sanding Sticks: Smooth out seams and surface imperfections.
• Paint Brushes: Use fine-tipped brushes for details.
• Airbrush and Compressor: Ideal for large surfaces and smooth finishes.
• Files: Remove thicker plastic or shape parts.
• Pin Vice: Drill small holes for extra detail.
• Cutting Mat: Protect your work surface.
• Clamps or Clips: Hold parts while glue sets.
Optional But Helpful:
• Magnifying Glass or Headset – For small details.
• Photo-Etch Bending Tool: If working with photo-etched parts.
• Decal Set and Softener: Helps decals adhere and conform.
• Modeling Putty: Fills gaps and smooths joints.
I have a more detailed section on the website regarding all the different suggested tools. You can check that out here: Beginner’s Guide – Tools You’ll Need To Build A Plastic Model Kit
Conclusion
Building realistic plastic models comes from research, patience and the right techniques. Start with clean assembly, follow with careful painting and finish with subtle weathering. Use the right tools to make the job easier and the results better. With time and practice, your models will look more like miniatures of the real thing and less like plastic kits.
Happy modeling