
Vehicle History
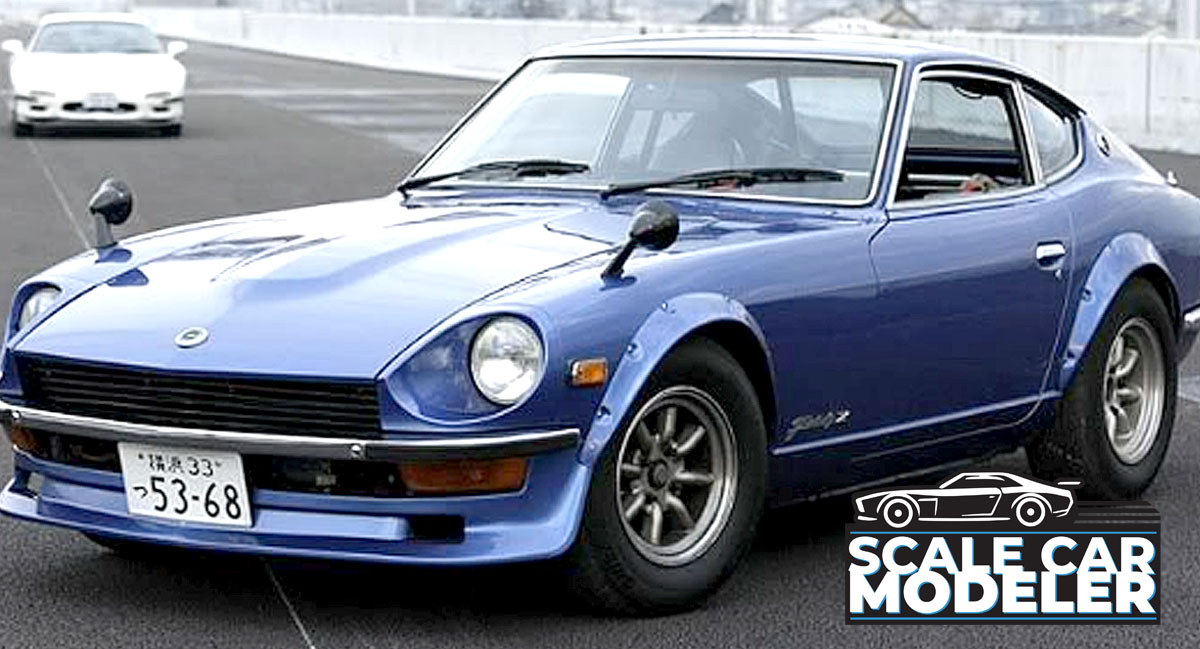
No conversation about the greatest global sports cars would be complete without the inclusion of Nissan's ageless classic, the Fairlady Z, whose S30 model sold over 520,000 units globally between 1969 and 1978. A radical departure from its open top Fairlady 1600 (SP311) and Fairlady 2000 (SR311) predecessors, the Fairlady Z project was a brainchild of the president of Nissan Motors USA Yataka Katayama; its Z designation was chosen to express the design extremes that the car pursued, including gorgeous body lines and top line performance, all in an affordable price bracket. It was a particular hit in the United States market, for which it was mainly developed and where it was affectionately referred to as the "Z-Car". Trendy fastback coupe looks, an elegant long nose and a new lightweight and rigid monocoque certainly set it apart from the aforementioned SP and SR models, while various inline-six engine options were available; the standard 130hp 2-liter SOHC L20 unit; the 160hp 2-liter DOHC S20 that had racecar roots and had been used in 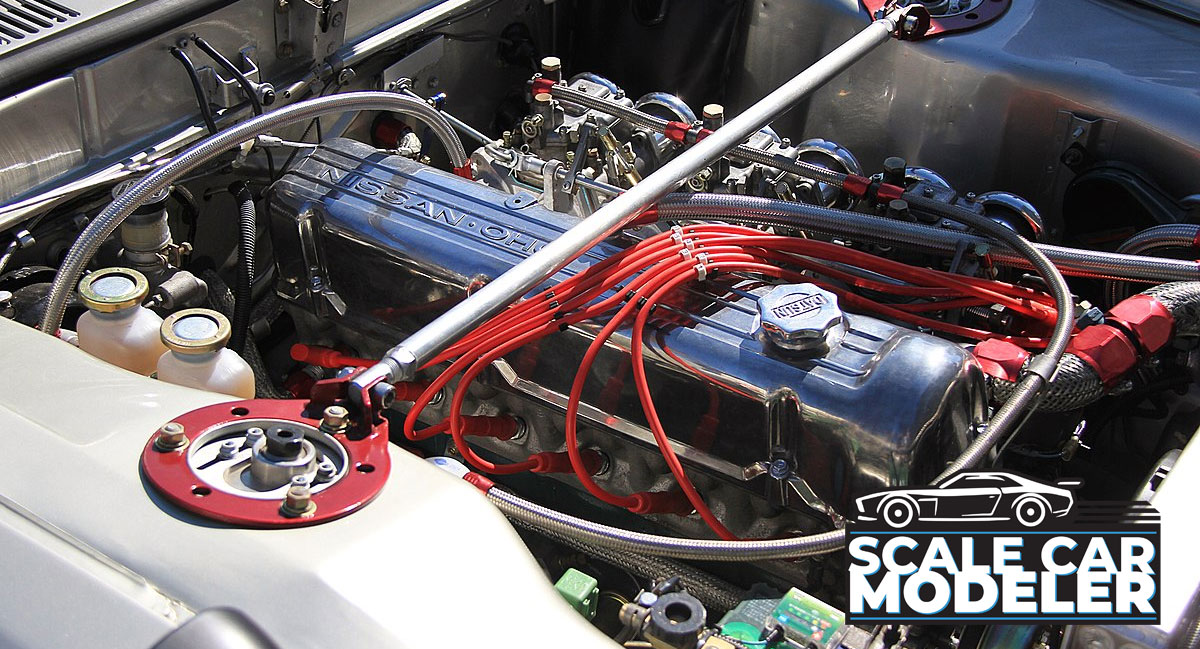 the Skyline 2000 GT-R (PGC10); and in the exported Datsun 240Z, there was the 150hp 2.4-liter SOHC L24 unit. Initial four- and five-speed manual transmission cars were joined in October 1970 by a Japanese three-speed automatic option, while owners enjoyed a sumptuously stable drive thanks to a new design of independent four-wheel strut suspension, front stabilizer and rear lower A-arms. The rack and pinion steering system ensured direct steering feel, amplified by the steering wheel lock to lock range of 2.7 turns. Disc brakes were employed at the front of the car and leading/trailing shoe-type drum brakes at the rear with aluminum fins for enhanced heat dissipation. Like the exterior, the 2-seater cockpit was a stylish affair, sporting a black monotone scheme with faux leather combined seats and headrests, knitted out with 3-point seatbelts. The instrumentation was embedded in a single padded piece on the dashboard, the speedometer and tachometer in front of the driver and smaller displays such as the voltmeter, fuel and water temperature gauges in the center.
 Demand for the export L24 engine was strong in Japan too, and Nissan did not keep customers in the archipelago waiting long, making the 240Z available from 1971. The 240ZG, which was the top-grade model, was a particular treat aesthetically with its "aero dyna" nose ("Grand nose") with integraded front bumper and spoiler, and boasted a top speed of 210kh/h, not to mention an impressive 0.39 drag coefficient, making it a top-class sports car of the day.
Its irresistible combination of stunning looks and top-level performance inevitably made the Z-Car a massive hit across the world and many owners saw fit to customize their vehicle. Customizations commonly seen on the market included: triple carburetors which improved fuel intake efficiency and bolstered acceleration; air funnels to maximize air intake and give the engine an inspirational roar; and even twin exhausts. The body was also frequently customized with overfenders, air dams and rear spoilers being popular aerodynamic additions, while some cars had lowered suspension or were fitted with RS Watanabe 8-spoke wheels. While it was already a beautiful design, this long nose, short deck car was thus often given a fresh twist by its owners, and turned heads along streets around the globe.
Kit Overview
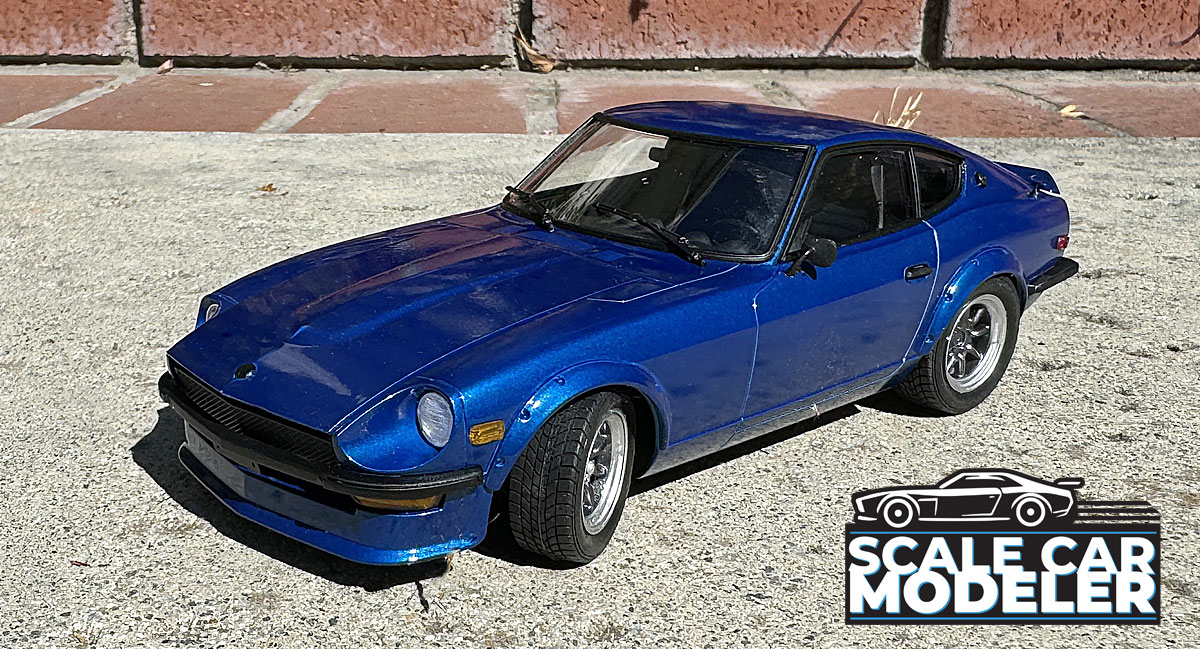
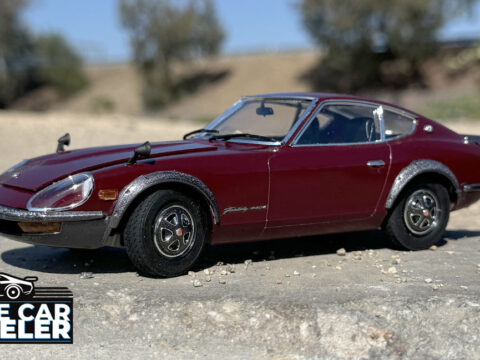
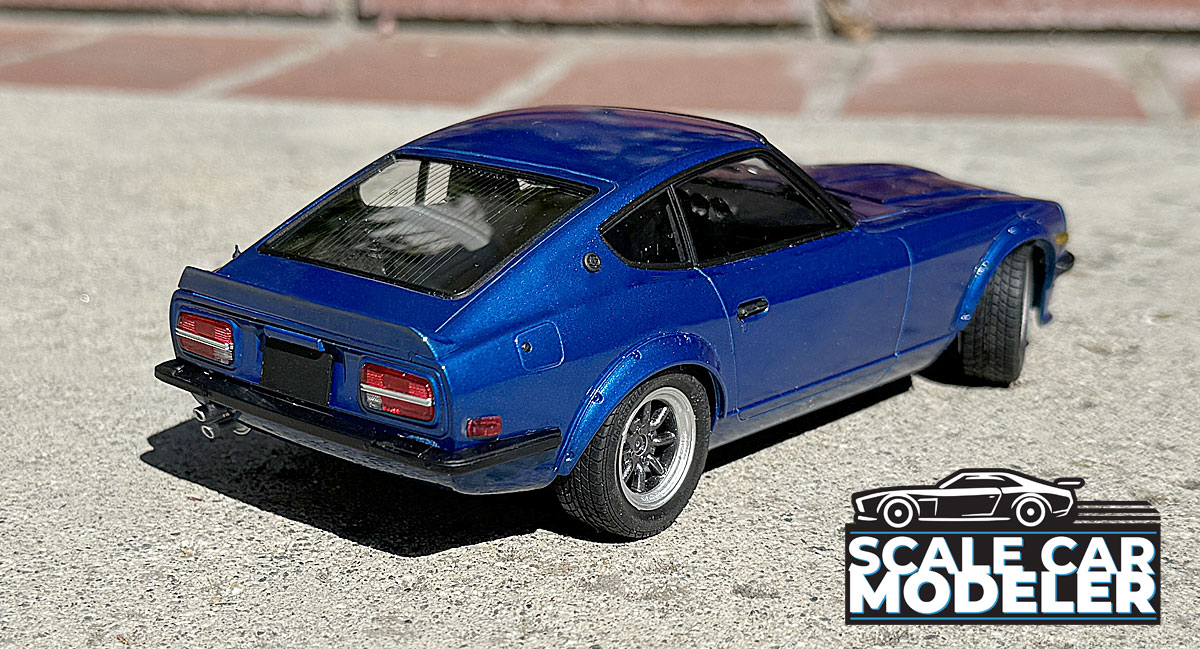
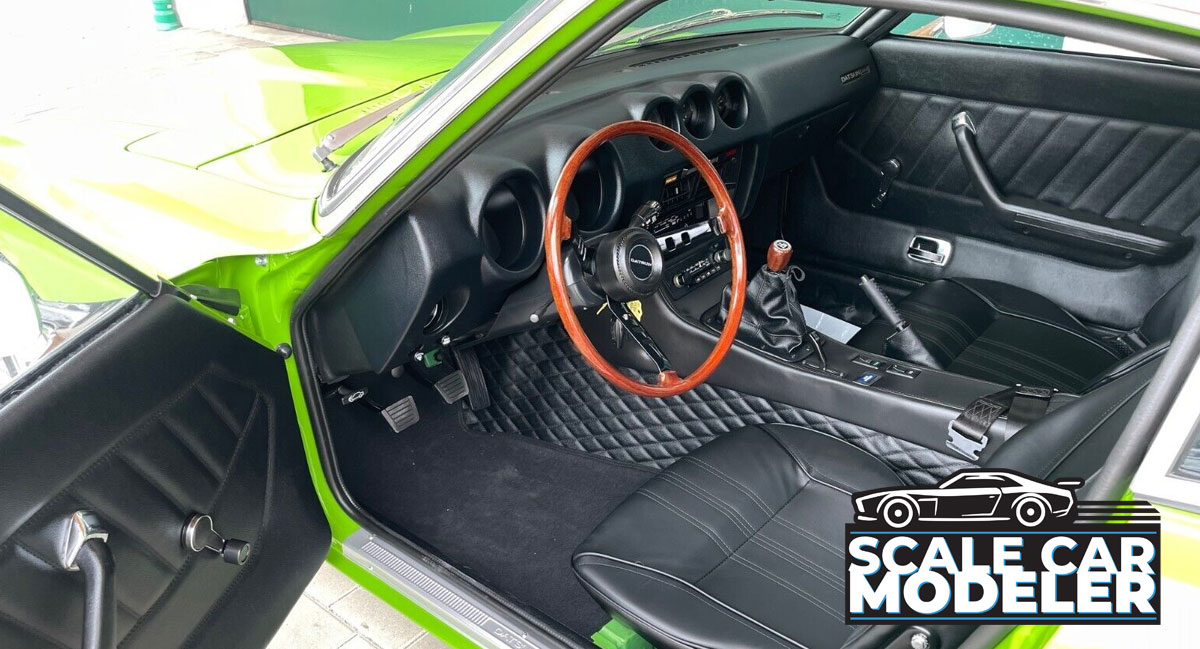
One of the reasons I really wanted this kit was because, when I was much younger, I actually had a 1972 Datsun 240Z in this exact color. And, after a year or so of working on it, I had blacked it out like this kit as well - bumpers, window surrounds, the single mirror, wipers, door handles and emblems.
The interior was in excellent condition, again all blacked out, but I did add a red shift knob for a bite of color.
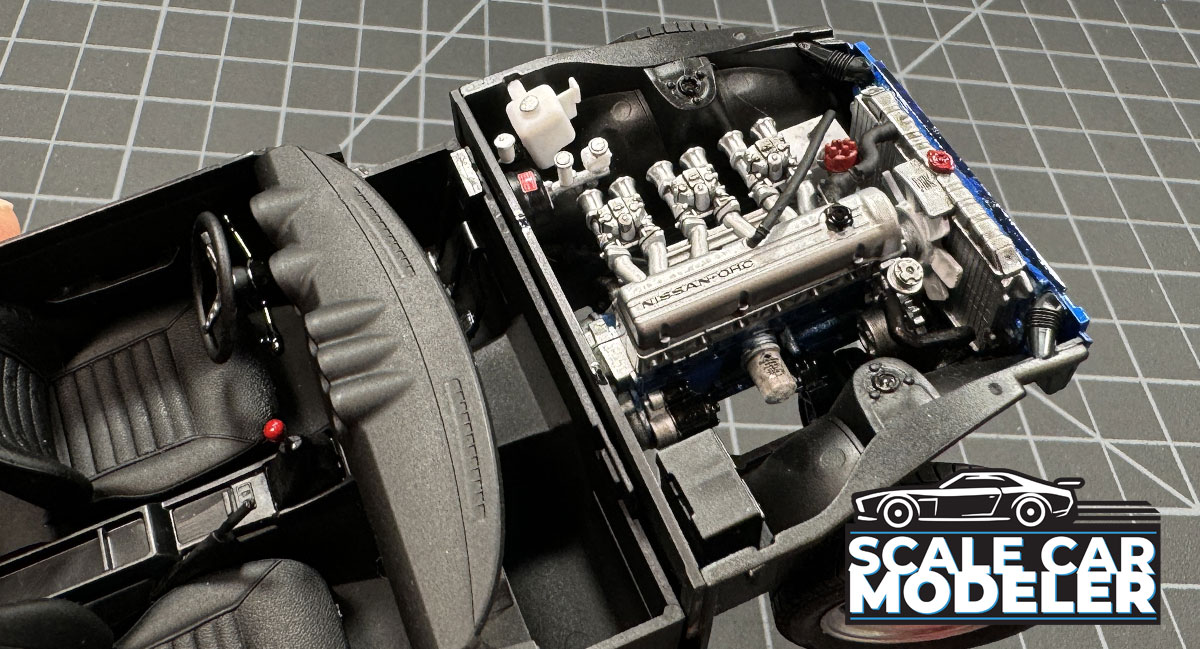
Under the hood was clean too. Like this kit, I added a triple Mikuni carb system, Mallory distributor and a custom manifold exhaust system that ended in a single tip. Thankfully, I was able to replicate all of that except for the exhaust, however I did paint it similar to the aftermarket one I had purchased.
 One thing to note on this kit - Tamiya has supplied enough parts to build either a Right-Hand-Drive (RHD, or Japanese version) or a Left-Hand-Drive (LHD, or North American version). It's best to decide up front which path you want to take as it gives you build options throughout the manual.
:: Chassis, Suspension and Engine
After getting all the painting done (and deciding on the LHD version), it was time to put it all together. All in all, the build was quite simple - the chassis, suspension and engine compartment went together quite well. There's not a whole lot going on with the real car, so parts count was minimal. The engine was a fun build and, while I don't typically like dealing with carburetor air funnels (big fingers tend to drop parts), these went together easily. I was able to match most of the painting with sprays, then touch ups (or additional paint) with bottle and brush.
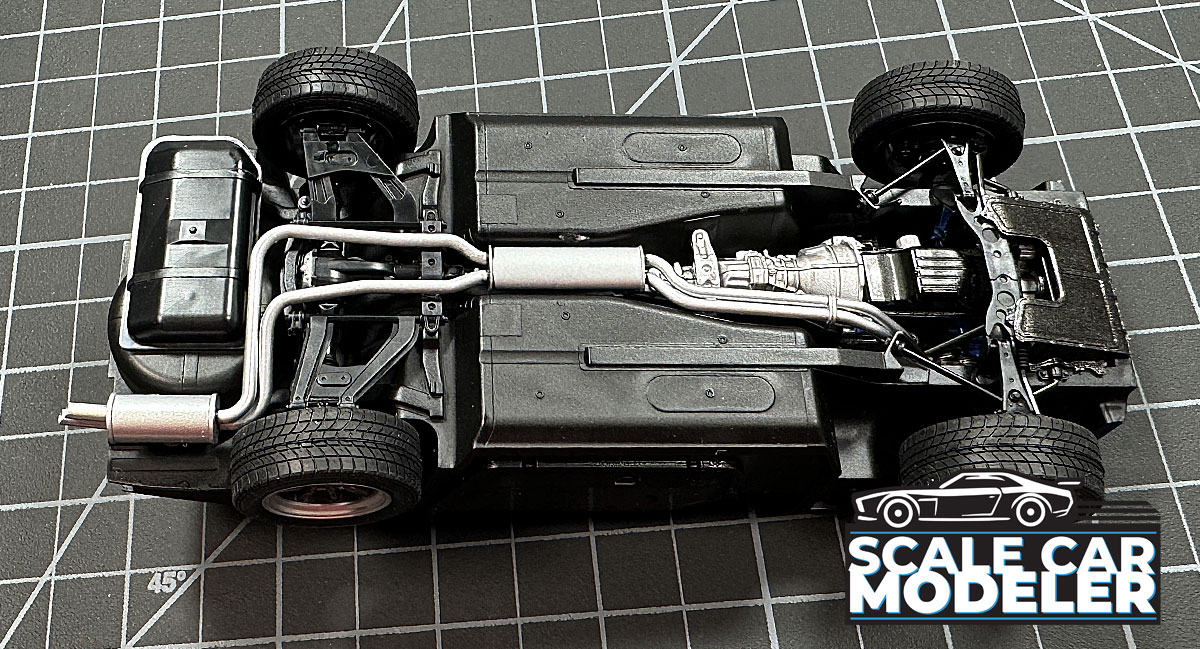
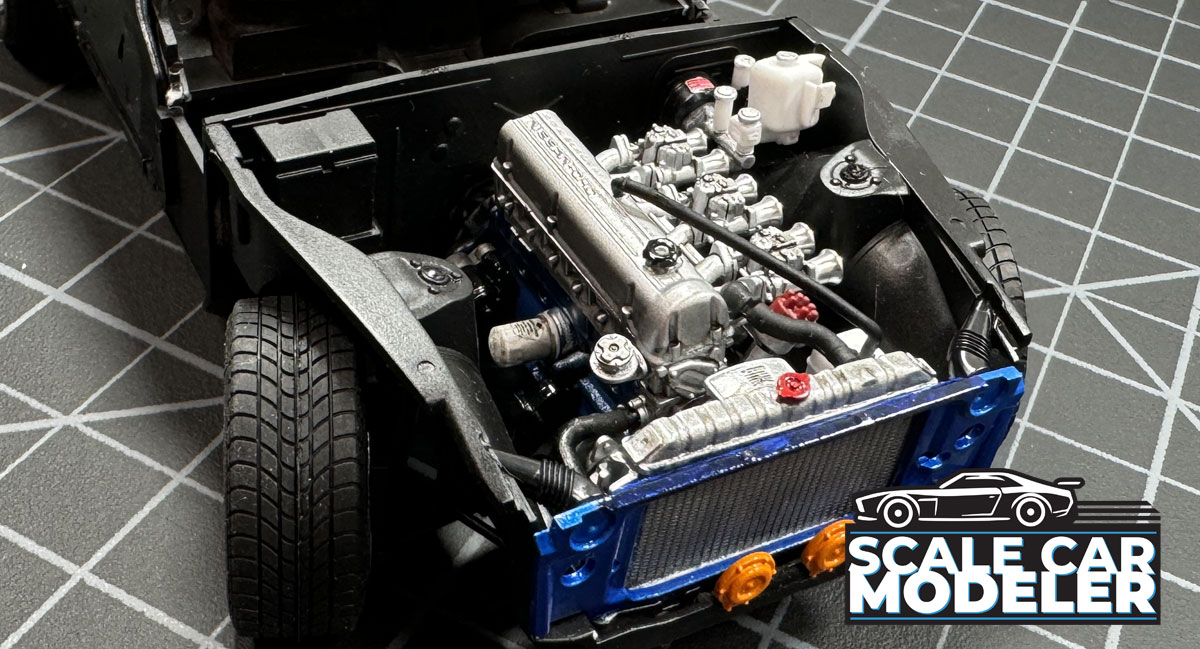 Installation of the engine was followed by the rear suspension, exhaust and some final under-chassis bits - again, all very simple to assemble. I suggest combining parts prior to painting - engine halves, exhaust parts, etc - it just makes the process easier with the final result being a bit cleaner.
:: Wheels and Tires
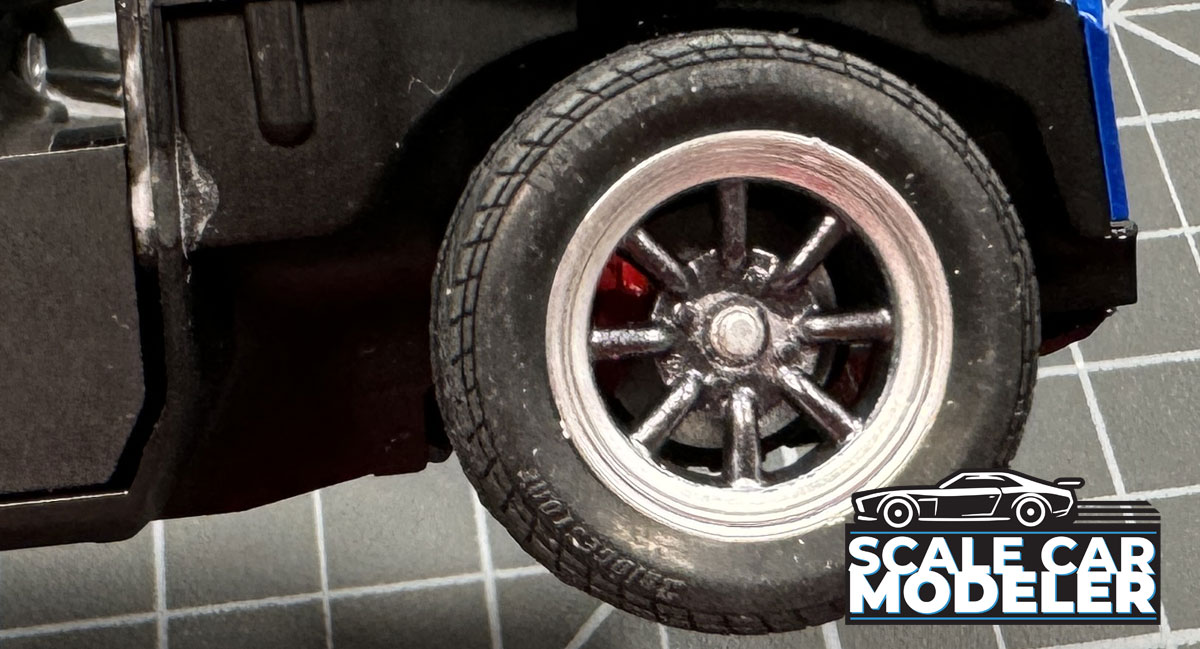
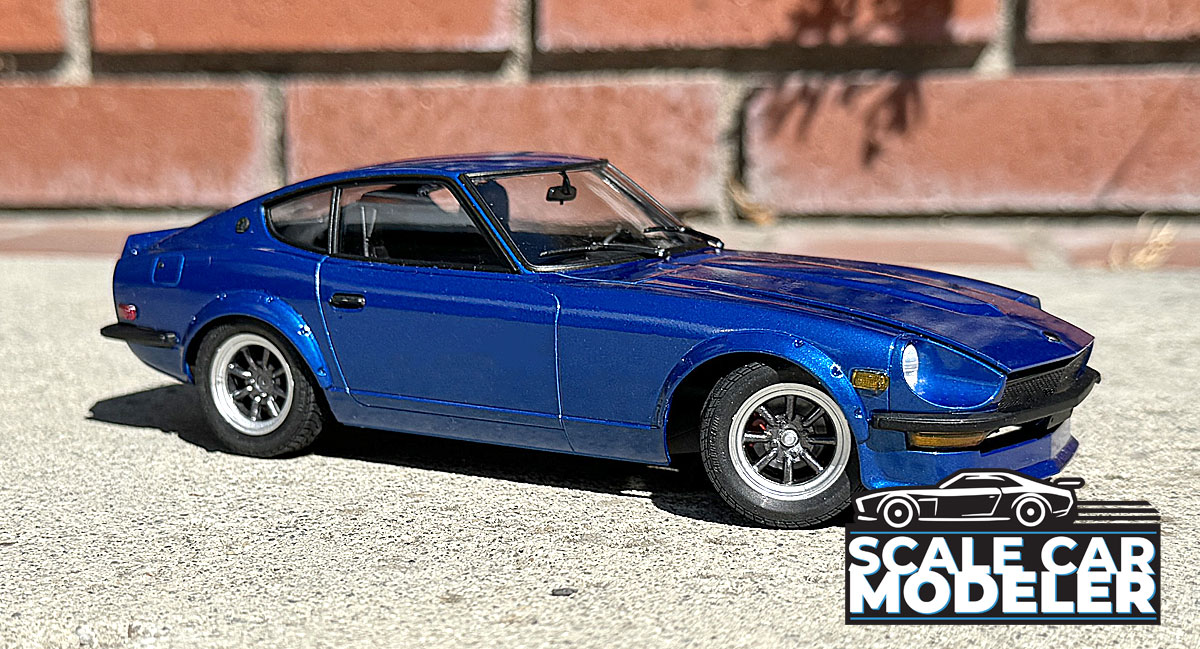
The RS Watanabe wheels were just like I had as well - metallic grey in the center with a chrome outer ring. These, thankfully, were molded as two pieces, making it much easier to paint for the right look. The tires are a soft-ish synthetic rubber and, while I was going to 'wear' them out a bit for a more used look, I chose not to.
:: Interior
Moving to the interior - this is where things get a little odd. So, Tamiya does give you two color options for painting depending on the 'version' you are building. Ok, cool, however, they also require you to drill small 1mm holes all over the place to give you a mounting point for alot of the parts (you see, parts like the foot rests, door handles 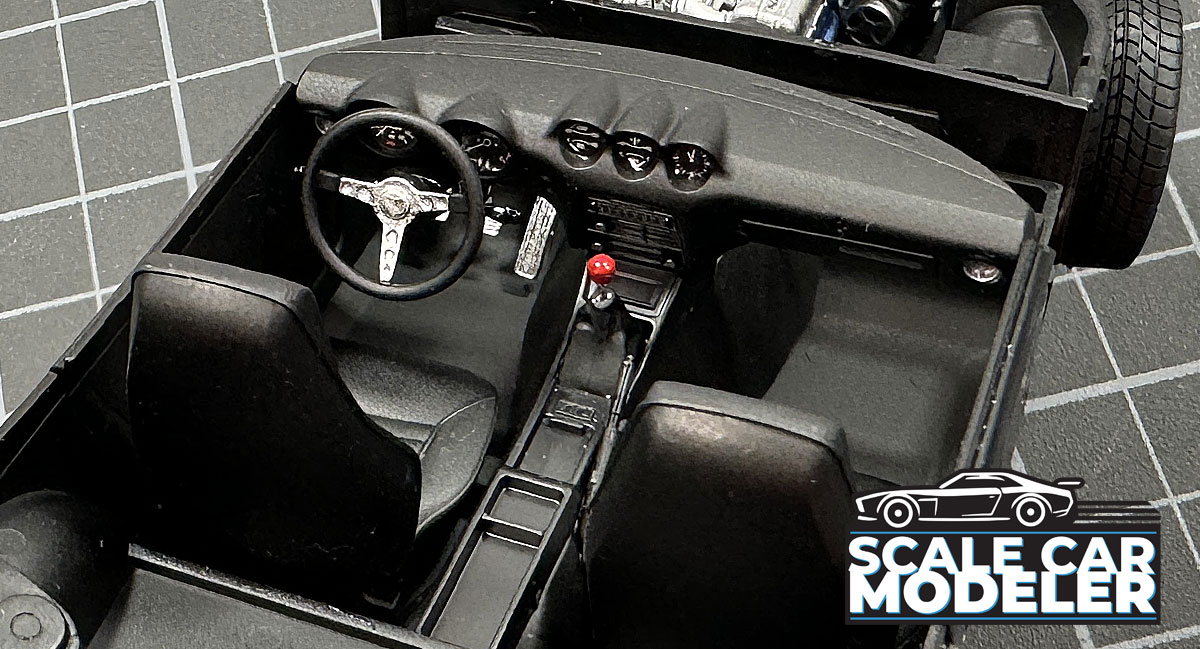 and door pulls have 'mounting pins' on the parts, but no corresponding pin holes to mount them to - you need to drill those out. I found this quite odd, but figured the Japanese and NA versions have different mounting points - I just thought there'd be a better way to do it. Since I didn't want to take the time, I cut all the small mounting pins off of all the parts and carefully glued them in place. While the parts aren't perfect, you'll never see the results anyway - inside the car. Behind the glass. With black on black parts. And it's dark. I know, I know, bad excuse. Sorry.
:: Exterior
After wrapping up the interior (which, I might add, came out pretty damn good!), it was time to finish up the body and get it installed on the car. I started by attaching all the parts that would be painted the body color - front clip, rear decklid, fenders, gas door and windshield valance - wait, did I say windshield valance??? So, in an effort to give everything the same primer and paint (and keep it looking uniform), I glued the windshield valance in place early on - thinking I was smart. However, in step 34, Tamiya has you carefully placing the windshield assembly onto the car and using this valance to keep it in place (once glued). Well, ummm, ya, I jacked up this situation big time. However, 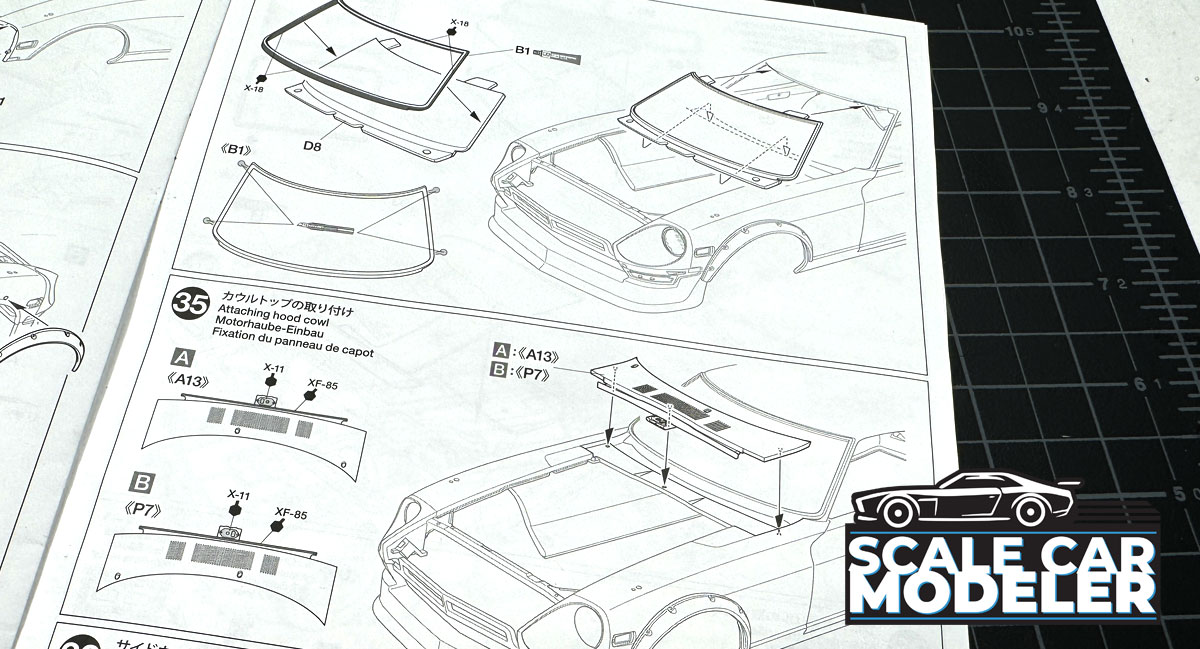 after studying it for about 15 minutes, I decided to trim off the upper and lower 'tabs' on the windshield just enough for it to slip into place, then added some glue (from the inside to secure it. Bang-boom - job well done!
I'd like to touch on the way Tamiya has you manage the windows as well. It's actually quite smart - separate window borders that attach to the glass, then install as one piece. This is brilliant as it makes painting the borders super easy without any chance of damaging the glass!
:: Final Steps
The final steps of the Datsun 240Z assembly requires attaching the grill, marker lights, bumpers, rear light panel, emblems and a few other items. My car had most of this blacked out so, of course, I had to give the model kit the same treatment. Again, though, the manual tells you to drill out a couple mounting holes throughout the car but I opted for the more convenient 'snip the pin and just glue it on' approach. It certainly is a bit more effort (now that I think about it) but, thankfully, the final outcome is quite nice.
Enjoy your build.
Instruction Manual
 Tamiya 24367 Nissan Fairlady 240Z Model Kit Manual
Gallery