Vehicle History
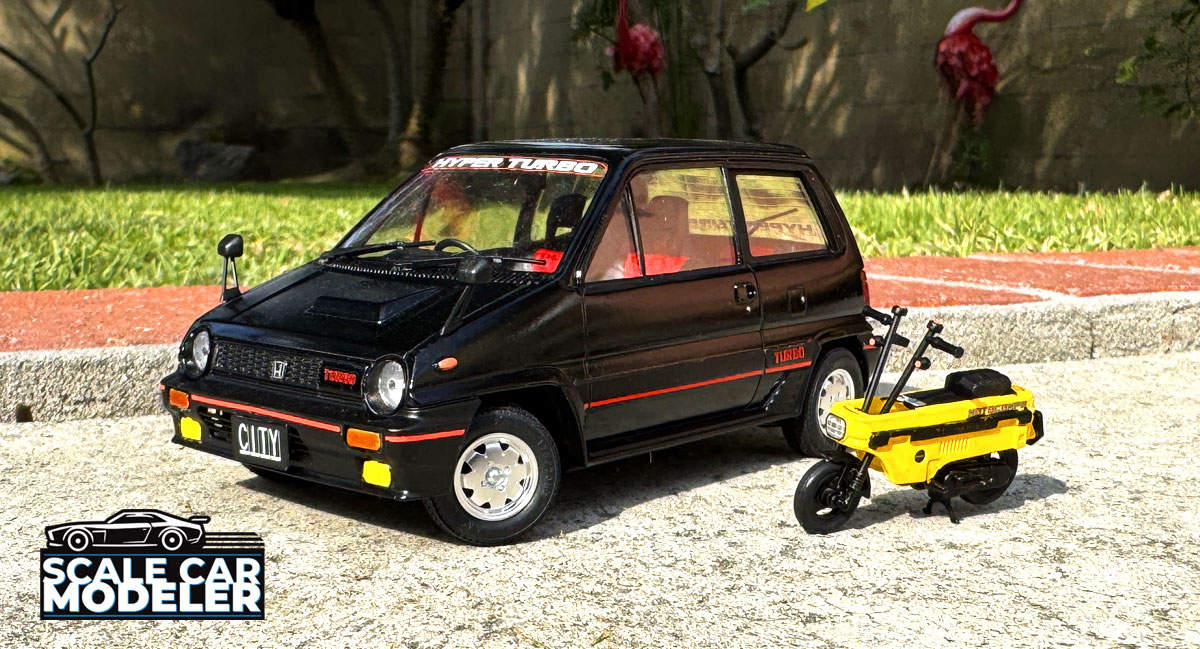
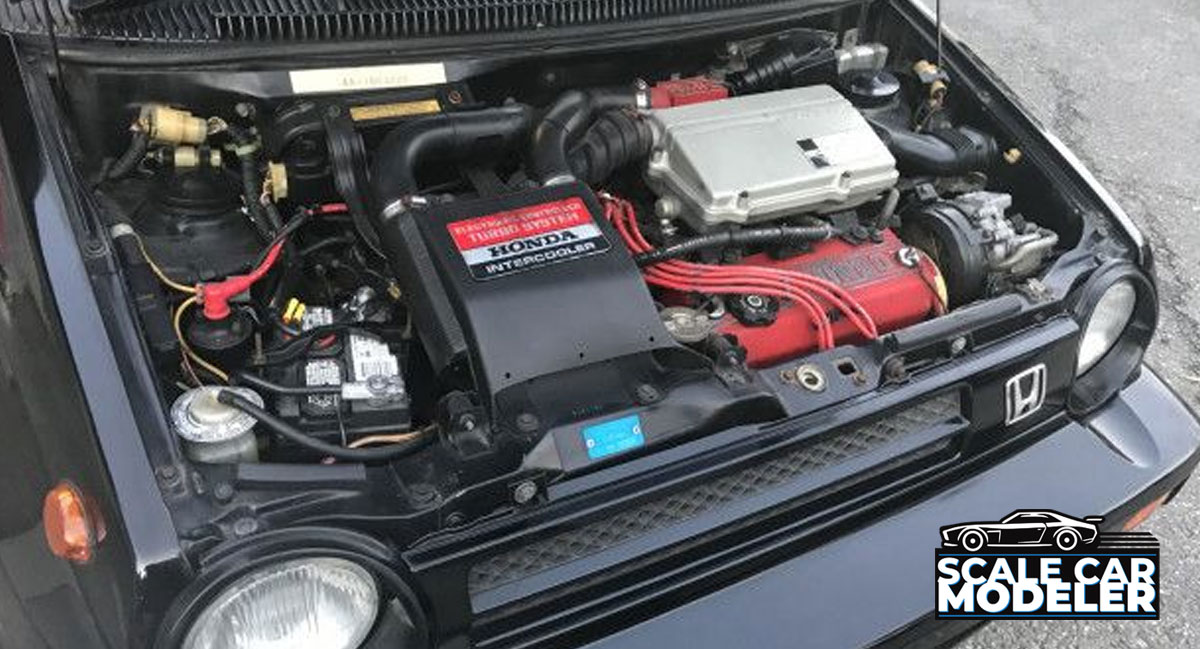 First sold at the end of 1981, the Honda City was a rather unique proposition - a lively car sporting quite a tall profile yet budget friendly on account of its relatively small engine. Honda followed up on its success in September 1982 by adding the City Turbo, a model with a 1,231cc inline-four engine and a turbocharger that was a collaboration between Honda and the Japanese maker Ishikawajima-Harima Heavy Industries, boasting a 0.75kg/cm(2) of pressure, a number unrivaled by other cars of its day. Honda's own PGM-FI fuel injection system was also installed, giving the City Turbo a whopping (at the time) 100hp and 15.0kg/m maximum torque.
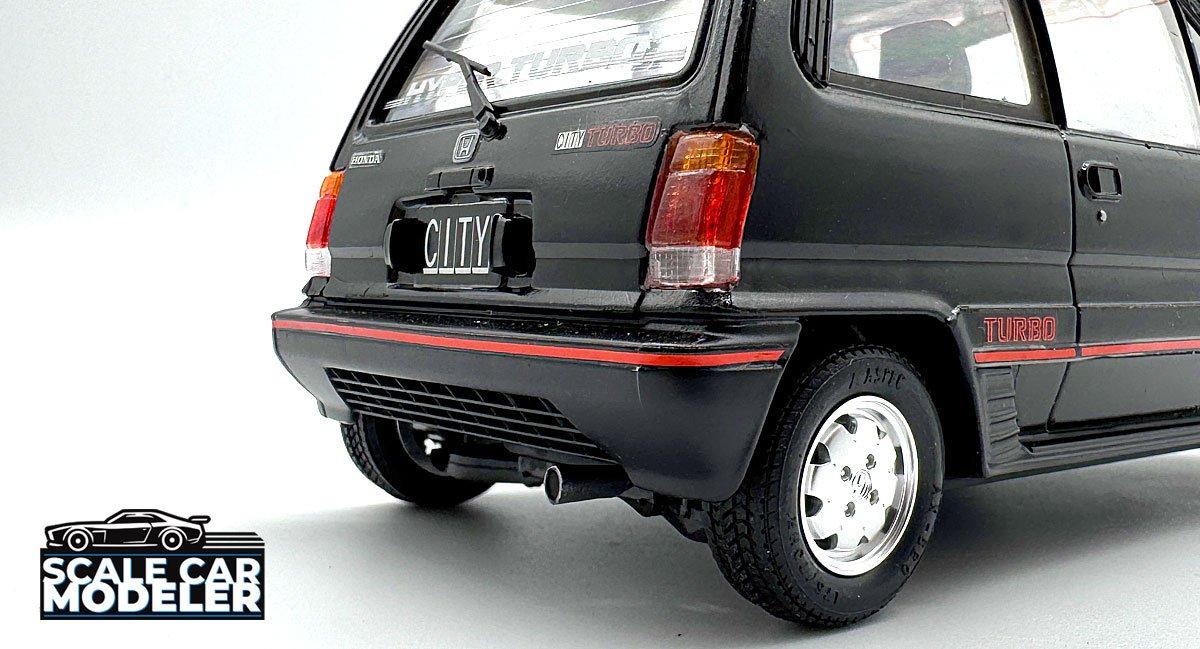
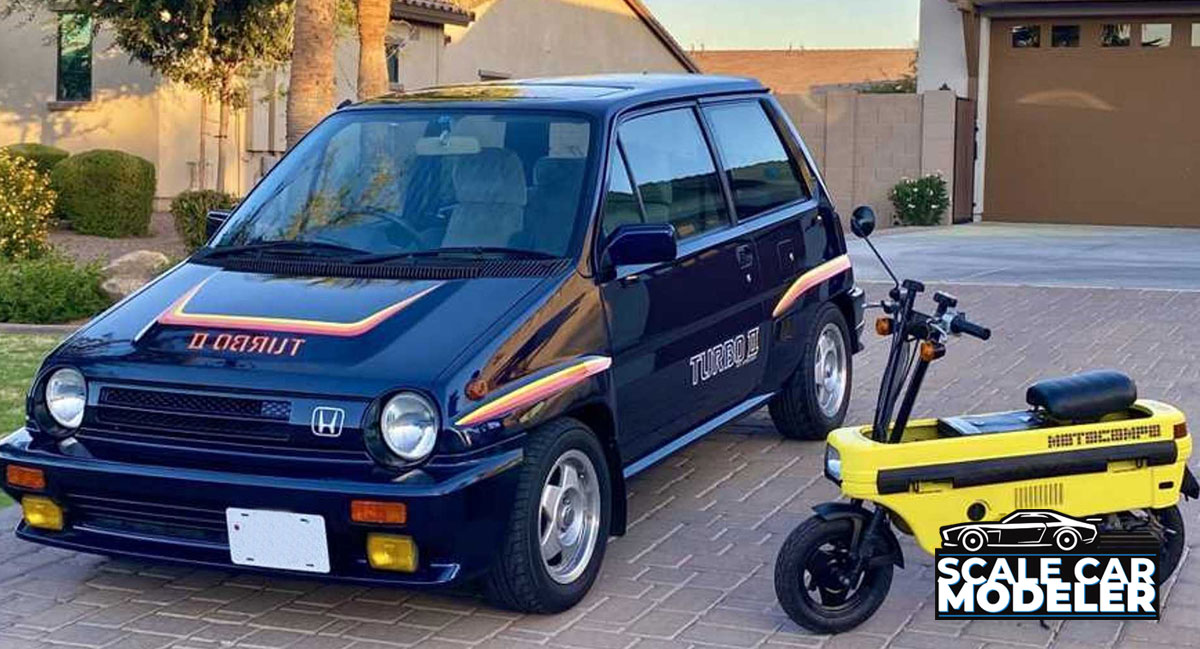
To handle the increase in power, it's upgraded strut suspension used progressive springs and stabilizers front and rear to provide a steady, comfortable ride. It was also one of the first cars in its class to feature ventilated disc brakes (at the front). Looks-wise, the City Turbo was a treat too, with a conspicuous power bulge in the middle of the hood, an off-center honeycomb grille and fog lamps inset into its bumper. It also featured prominent side moldings and a not-so-conspicuous red stripe.
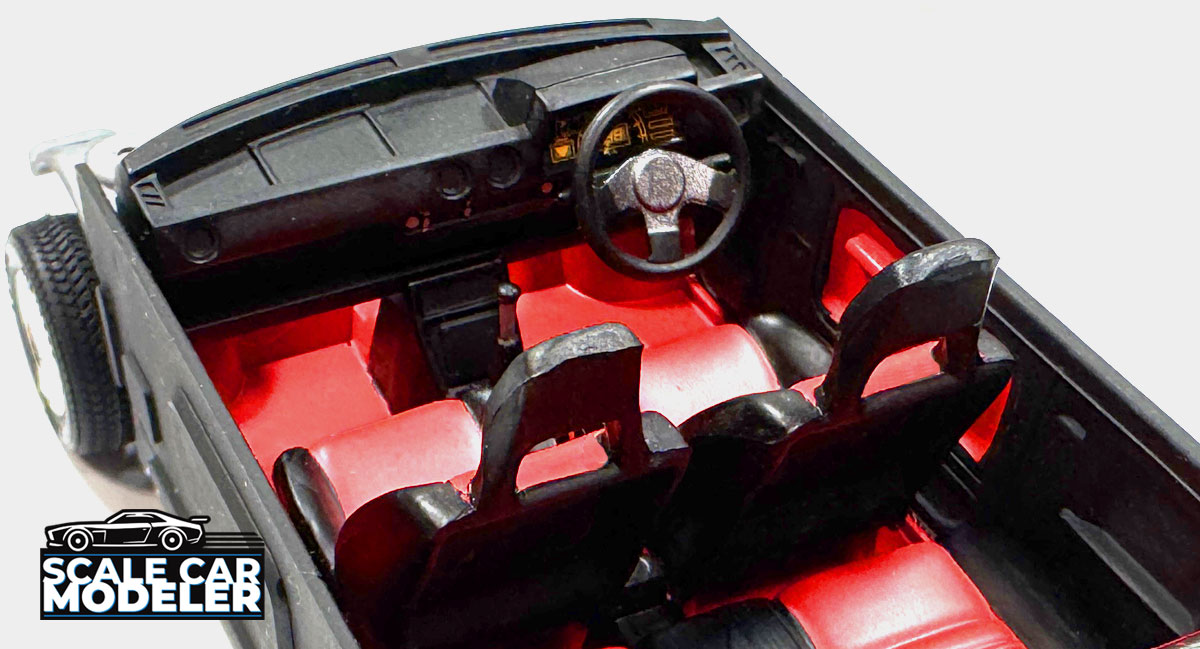
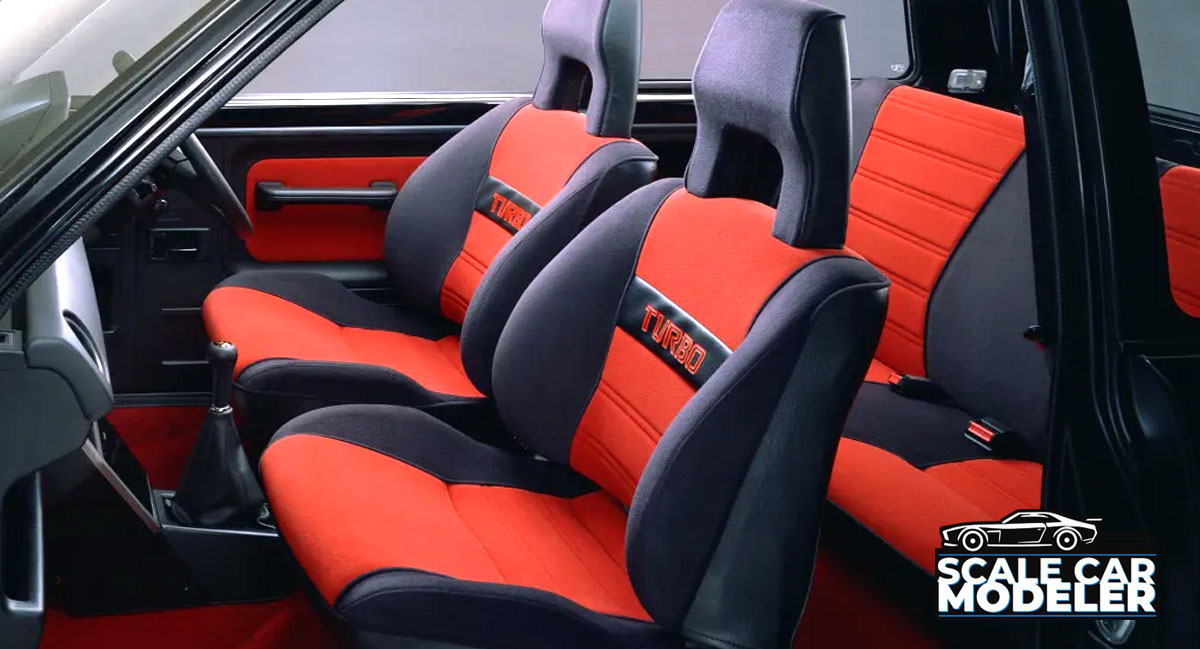 A trip inside the car did not disappoint either, with striking visual motifs such as a digital speedometer inlaid in the analog tachometer, trendy boost gauge graphics, buckets eats and the three-spoke steering wheel. It is little surprise that this stunning Japanese hot hatch was such a hit with young drivers in particular.
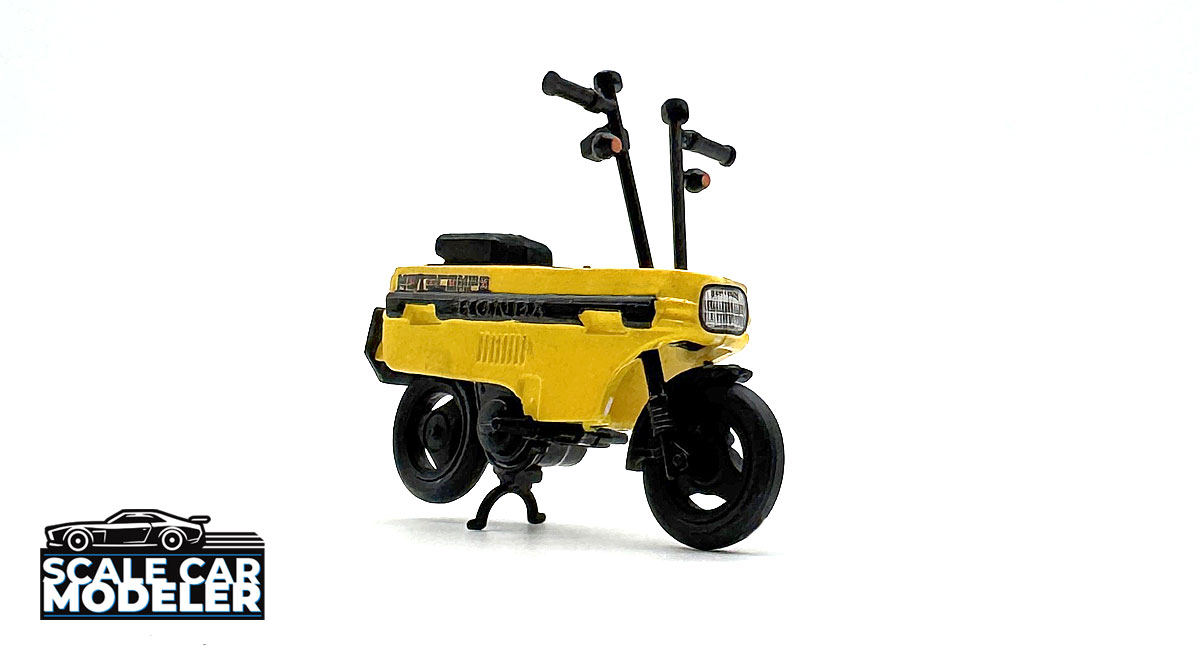
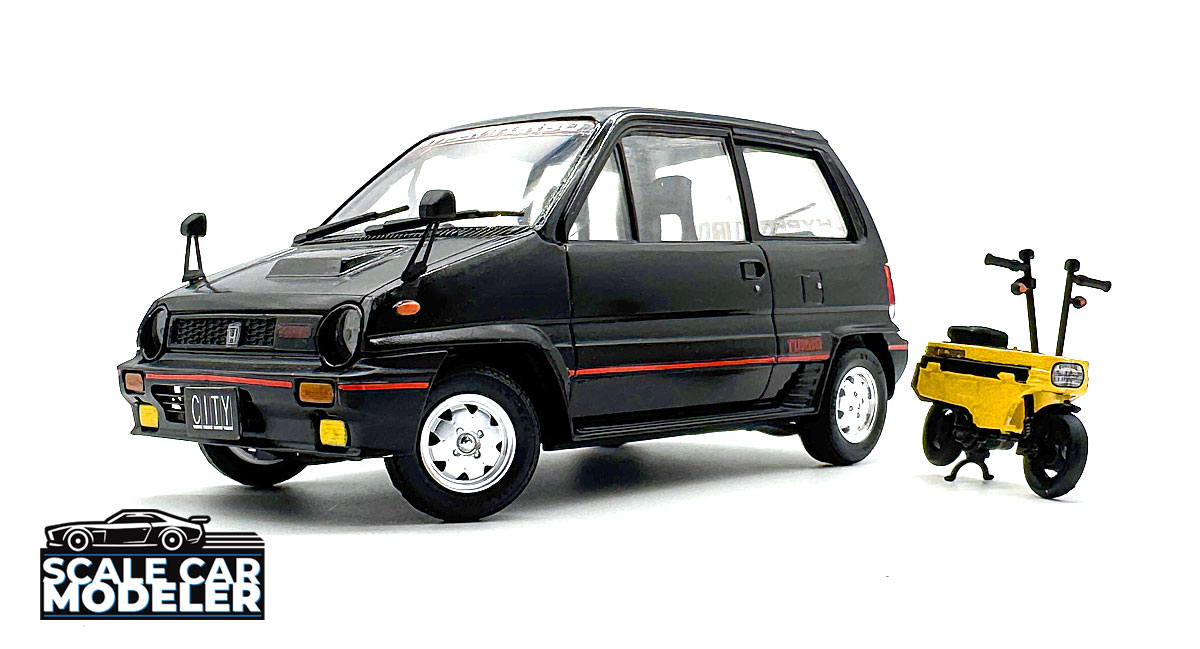
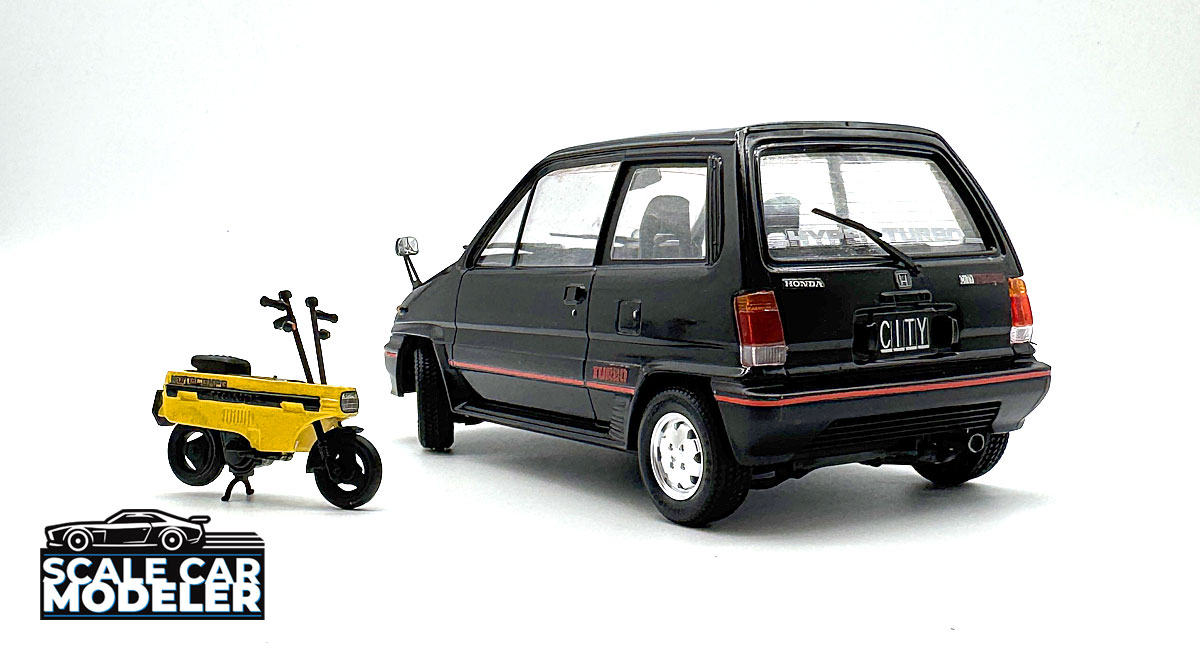
The City also came with a small scooter called the Motocompo, which was available in yellow, red and white. It was a tiny moped that, once folded down, would fit into a space at the rear of the Honda.
Kit Overview
If I'm being honest, the Honda City Turbo wasn't on my list of kits to get and build. It's not a dream car, off-the-cuff eye catcher or even a super-popular kit. However, after building a couple Tamiya kits already, I was a bit interested in how an older kit, like this re-release, would actually go together. Have Tamiya kits been as awesome (and fun) to build as the recent Porsche 911 GT3 RS release? Let's find out.
After the initial unboxing (see video below), I was aware that this kit was a curbside release - no engine and very basic suspension - but it did include a full interior and detailed body set.
:: Chassis and Suspension
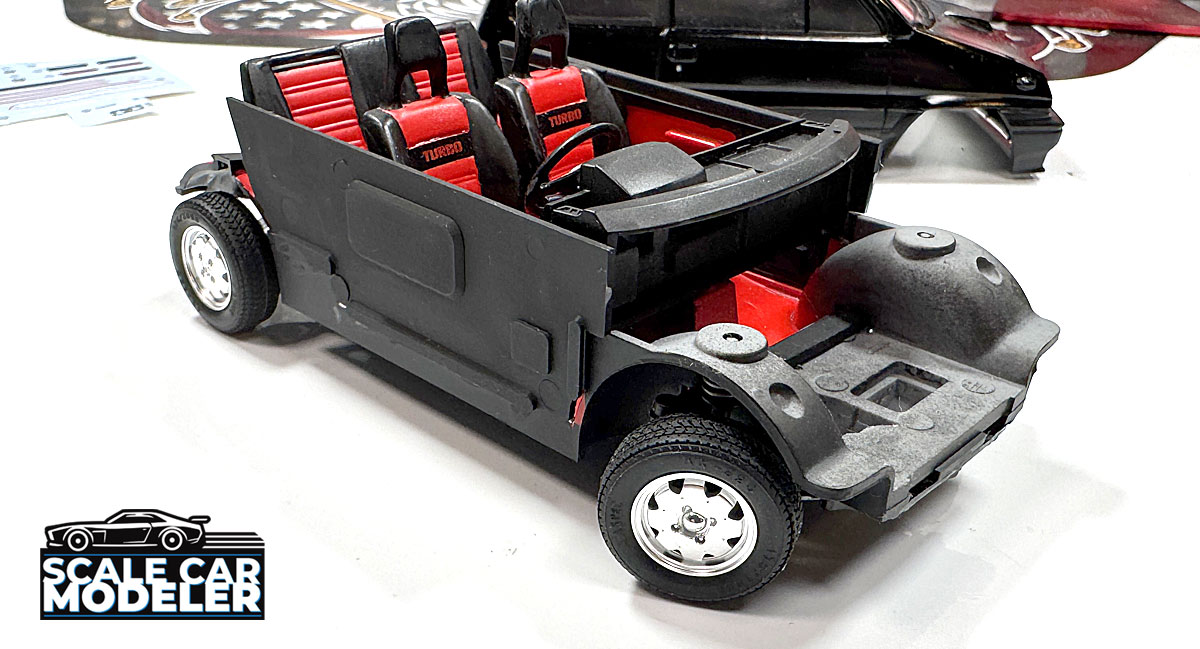
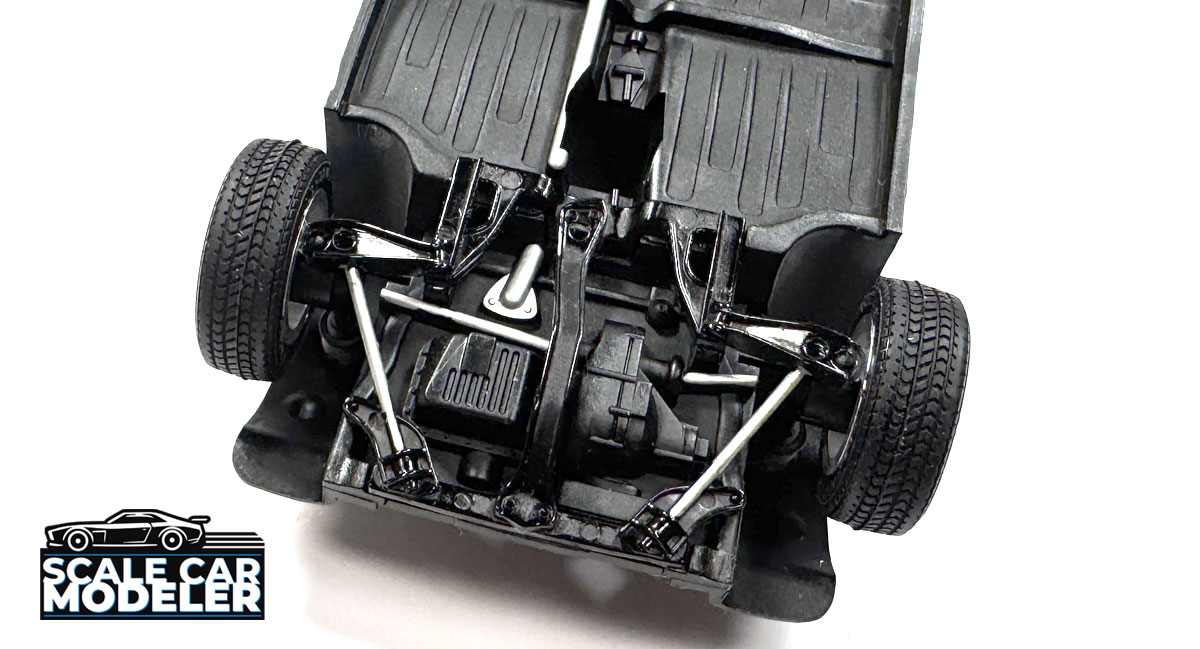
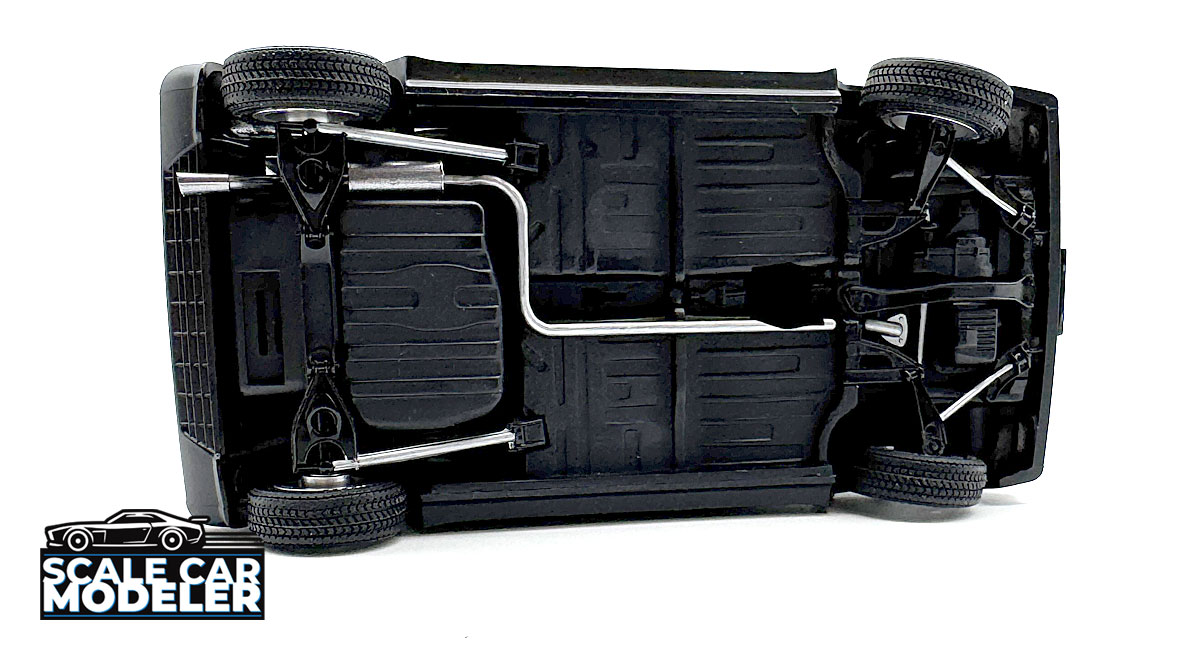
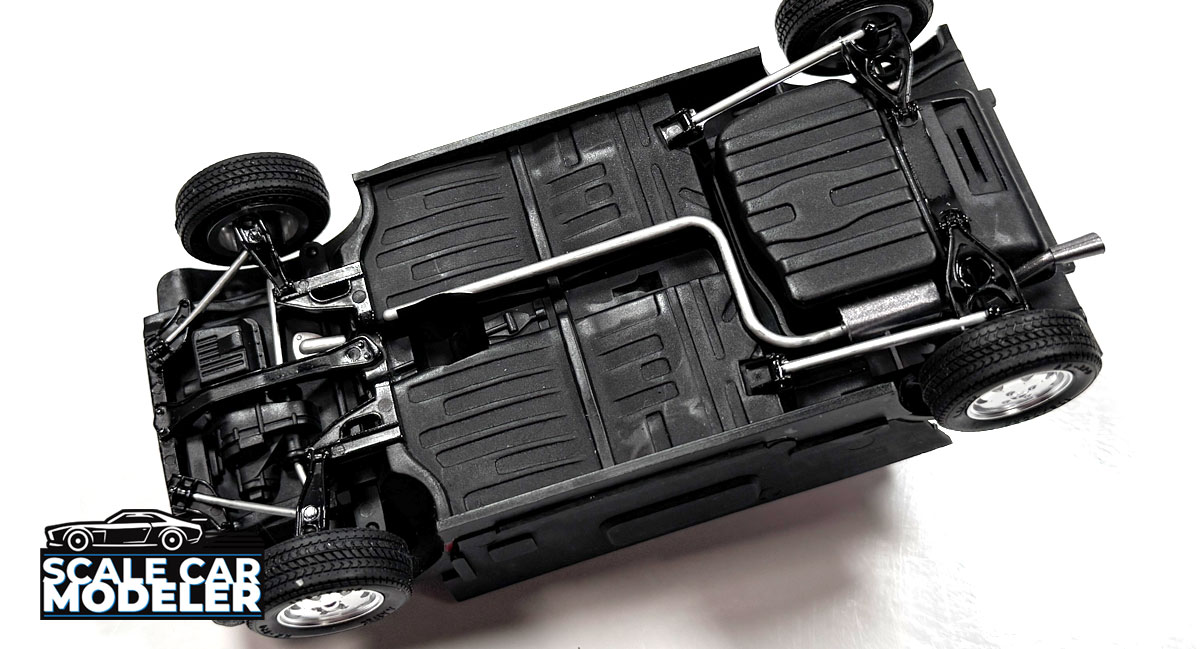 First off, you have to understand that this kit was initially a motorized kit, meaning the chassis needed room for a motor, battery and some wiring. Thus, details were there, albeit scarce. Starting with chassis, there are less that 10 pieces to add - struts, lower front suspension arms and lower rear suspension. There is also a 'steering arm' that allows you to turn the wheels, first used to steer the motorized model in different directions when powered. The lower engine and exhaust are molded to the chassis, however I wasn't feeling that ambitious to try and detail all of it. A quick hit of silver Sharpie to the exhaust system is all the chassis got.
The wheel and tire assembly was an easy press fit, no issues here. The only thing I'd say to keep an eye on is the rear suspension. Install the lower rear part first before the axle - the assembly uses the lower suspension to 'set' the distance to press the rear tires on. If you install the rear tires first, the rear suspension part may not fit. Ask me how I know...
:: Interior
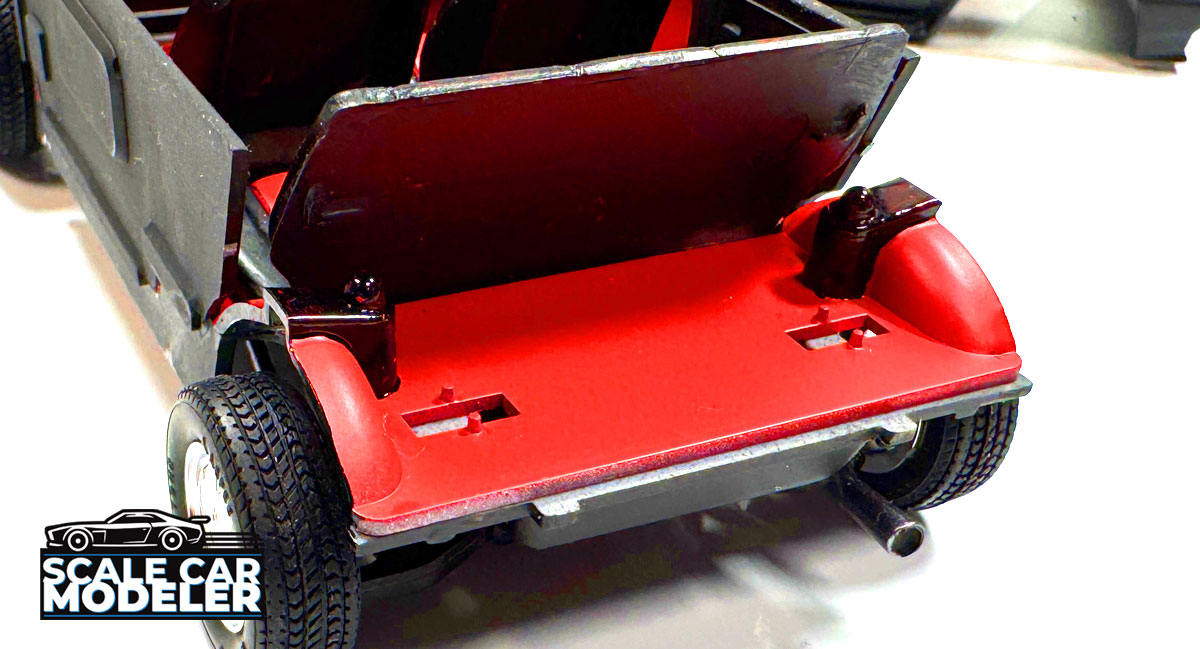
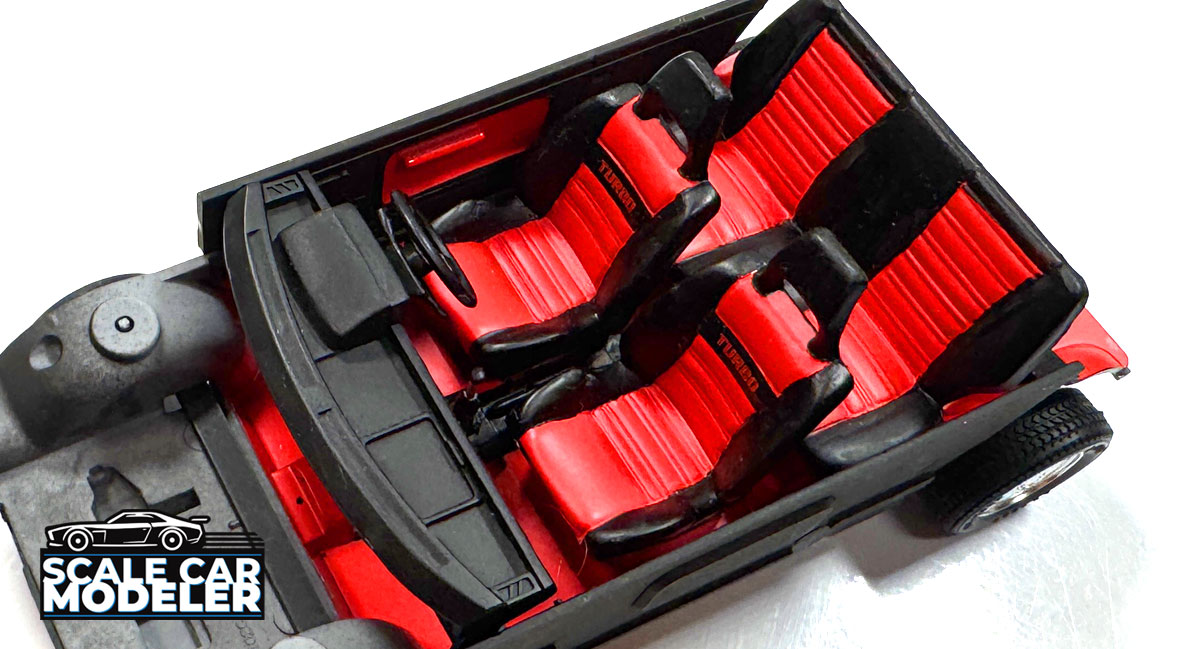 Moving on to the interior, it's a basic build that goes together quite easily. You can add paint to spice things up a bit - I think some flocking on the floor panels would have been a nice addition as well (need to start implementing that into my builds!). One note - if you're going to include the driver, make sure you install him BEFORE you attach the dashboard. Once the dashboard is in, it's impossible to squeeze the driver in there without busting something (like the steering wheel/column). It's fine, though - I'll use the driver in another project I have coming up.
:: Exterior
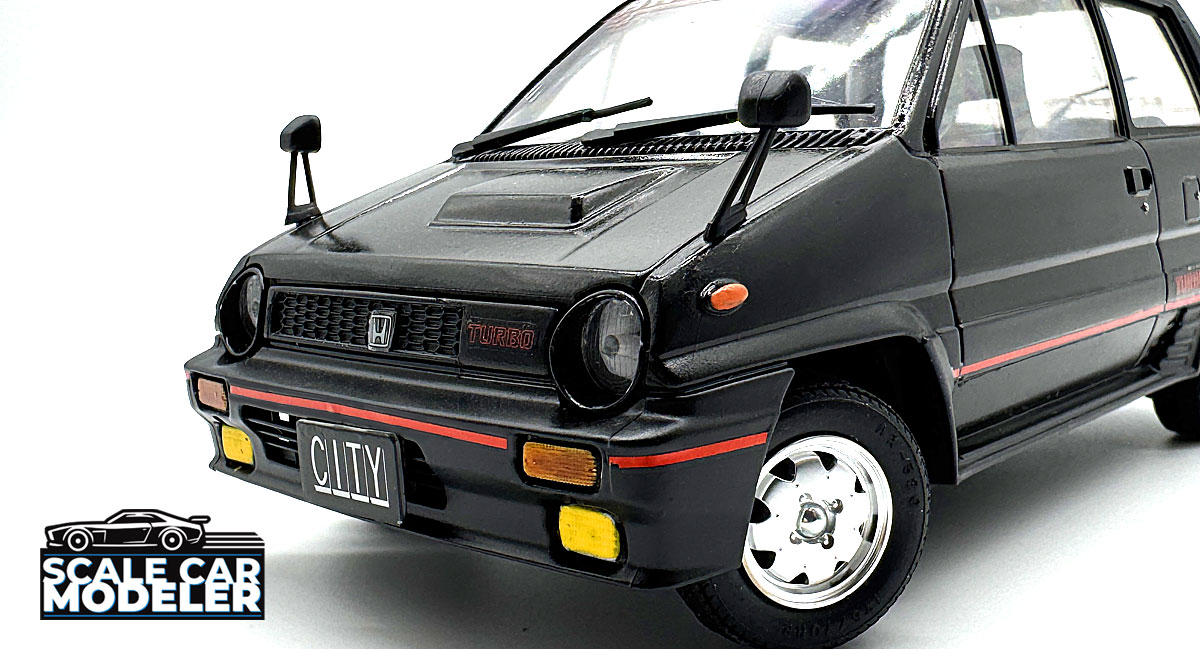 While the body is fun, it's certainly going to test your skills as a model builder. Most current kits come with multi-piece bodies - shell with separate front and rear bumpers, hood, grille, etc - but not the Honda City Turbo. This body is one piece - ALL OF IT. Initially I wasn't to concerned about it but once I started diving in, I realized this was going to take an extra bit of skill to complete. To 'make it right', you'll want to mask off what would normally be the plastic panels on the body - front bumper, rear bumper, some side bits and the grille. I also masked off the front turn signals, fog lights and rear taillight buckets. I was just going to overlay some chrome paint on those followed by the appropriate color, but thought that much build-up of paint might remove some detail.
:: Monocompo Bike
Half-way through the HCT build, I took a break to work on the Motocompo minibike. Honestly, I think it took more time to decide which version to go with (folded or not) than to actually build it! I went with the unfolded setup - I figured Tamiya gave it to us, I'm not going to hide it in the boot of the HCT. A bit of paint, a couple stickers and wah-lah - a completed mini bike.
I will say that, more than a few times during the build, I was a bit unsure of how this little kit was going to come together. A few mistakes were made (part of the learning process I suppose), but once assemblies were completed, the decals applied and the wipers and mirrors attached, I'm happy to say I'm quite pleased with the final product. It not only allowed me to style it a bit (since the kit is quite simple), it also pushed me to really take my time to complete the one-piece body - that in itself can be considered a win!
Enjoy your build!
Instruction Manual
 Tamiya 24369 Honda City Turbo Manual
Gallery