
Vehicle History
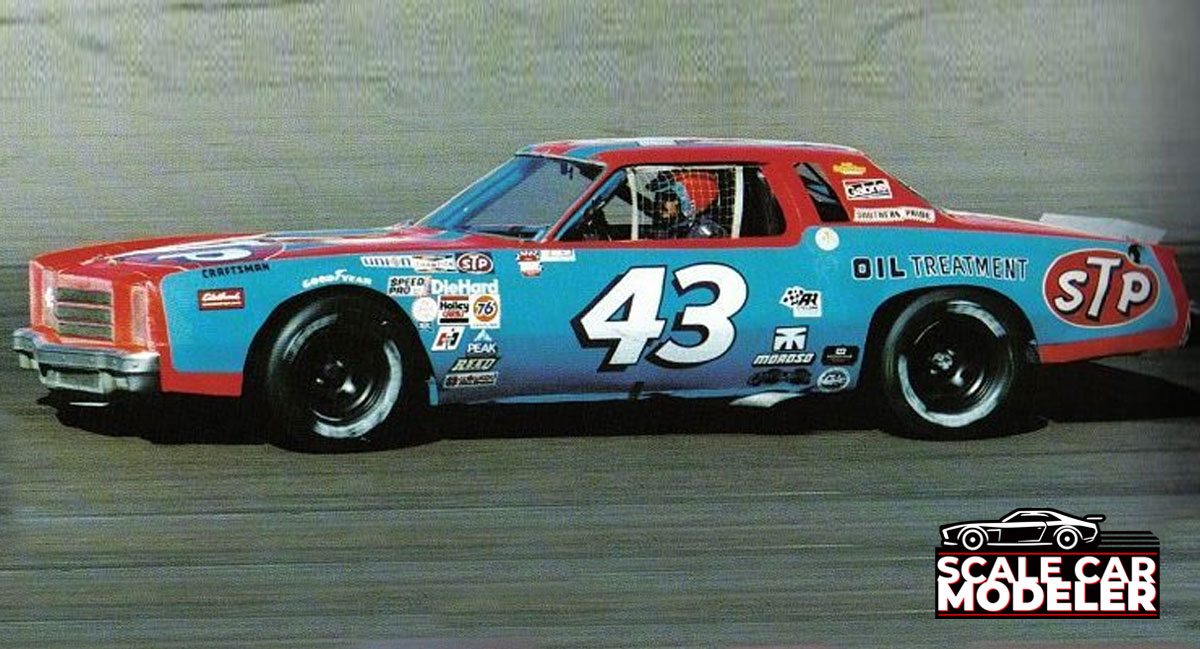
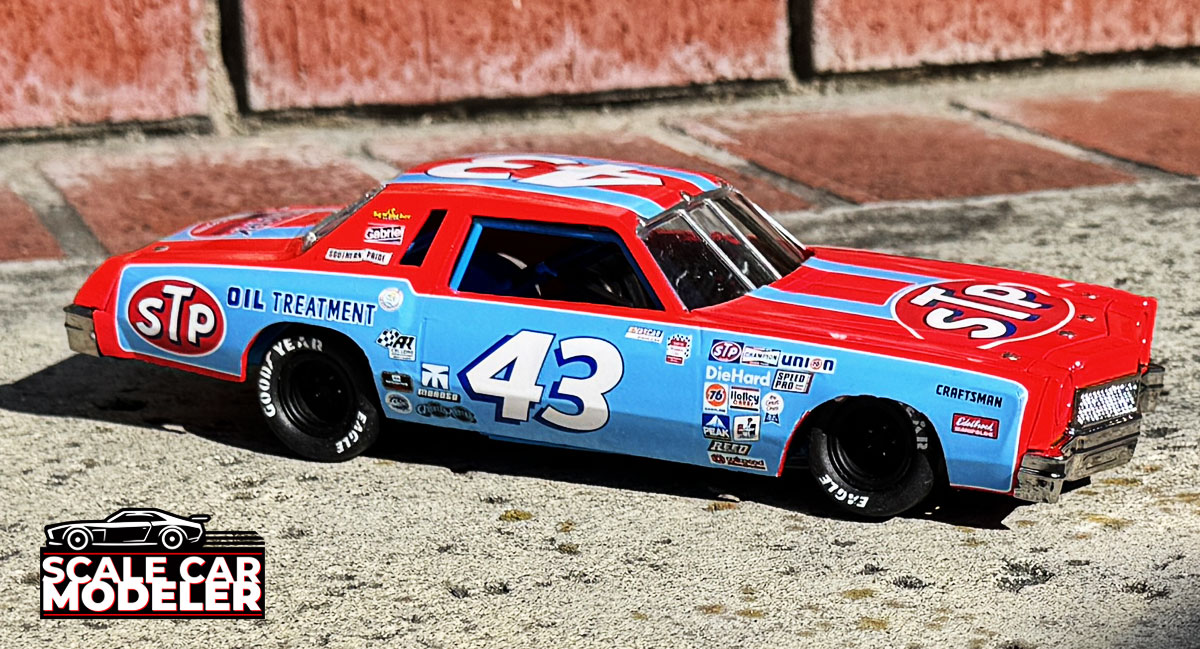
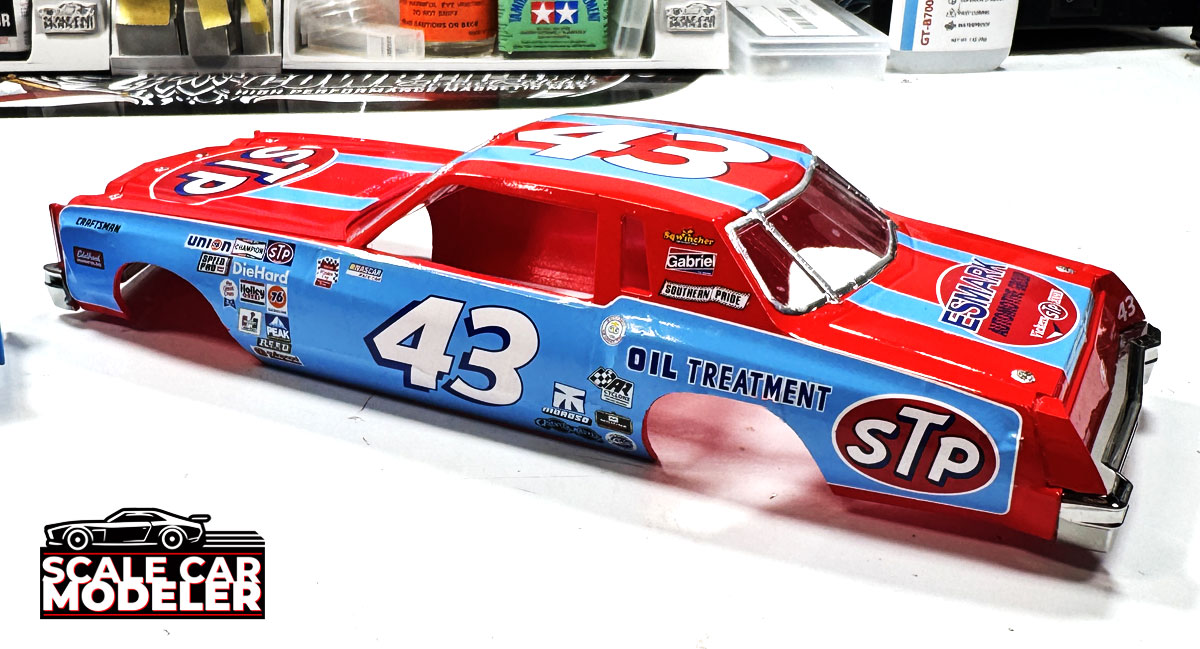
The 1980 Chevrolet Monte Carlo stock car driven by Richard Petty marks an important shift in his career and in NASCAR history. After years with Chrysler, Petty transitioned to General Motors platforms, with the Monte Carlo becoming a top choice thanks to its solid aerodynamics and handling. Running the iconic No. 43 in STP red and Petty Blue, Petty remained competitive in 1980 and scored a notable win at Nashville—adding to his legendary career total and reinforcing the Monte Carlo’s place in early-1980s NASCAR competition.
That same car is captured in the Salvinos JR Models 1/25 Richard Petty 1980 Monte Carlo model kit, giving builders a chance to recreate a real piece of racing history. Salvinos designed the kit with accuracy in mind, featuring detailed parts and authentic decals that reflect how the car appeared on track. As you build it, you’re not just assembling a model—you’re bringing to life a pivotal moment when stock cars were evolving rapidly while still closely resembling their street car roots.
Kit Overview
This project captures a bunch of 'firsts' for me - it is my first kit from Salvinos JR Models and also my first NASCAR / Stock Car build. The kit, this time around, is the 1980 Chevrolet Monte Carlo driven by Richard Petty and, I have to say, I was pretty excited to give this a go.
Finding the kit at Brookhurst Hobbies, my local hobby shop, I thought it would be a great kit to start with in this genre - it's iconic and, more importantly, the box was VERY heavy (for a plastic model), which means lots of parts and tons of detail! Yes, I'm easily swayed into purchases.
After purchasing, I brought it home, did the unboxing video (see down the post a bit) and immediately started separating the parts for paint.
:: Chassis, Suspension and Engine
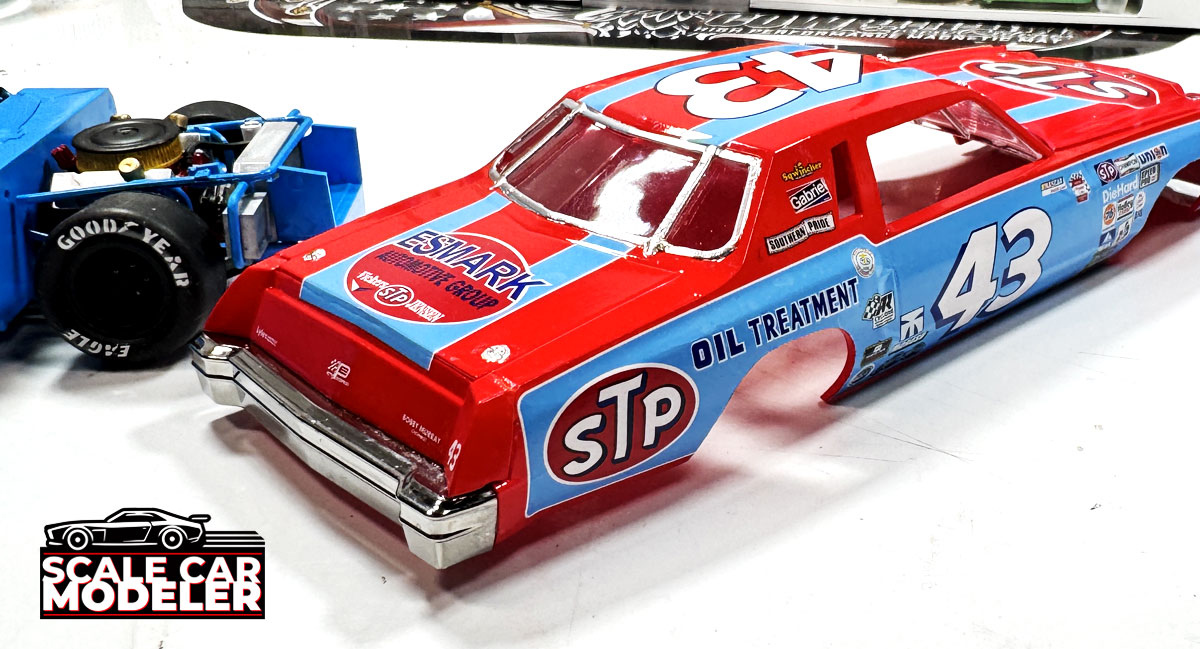
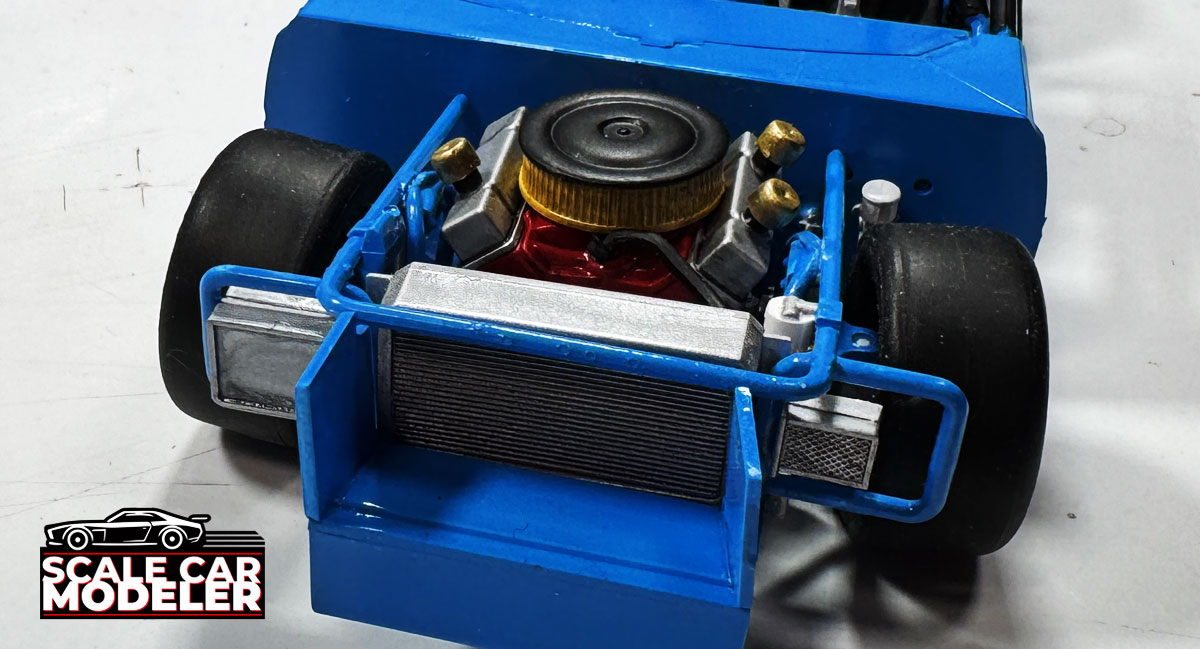
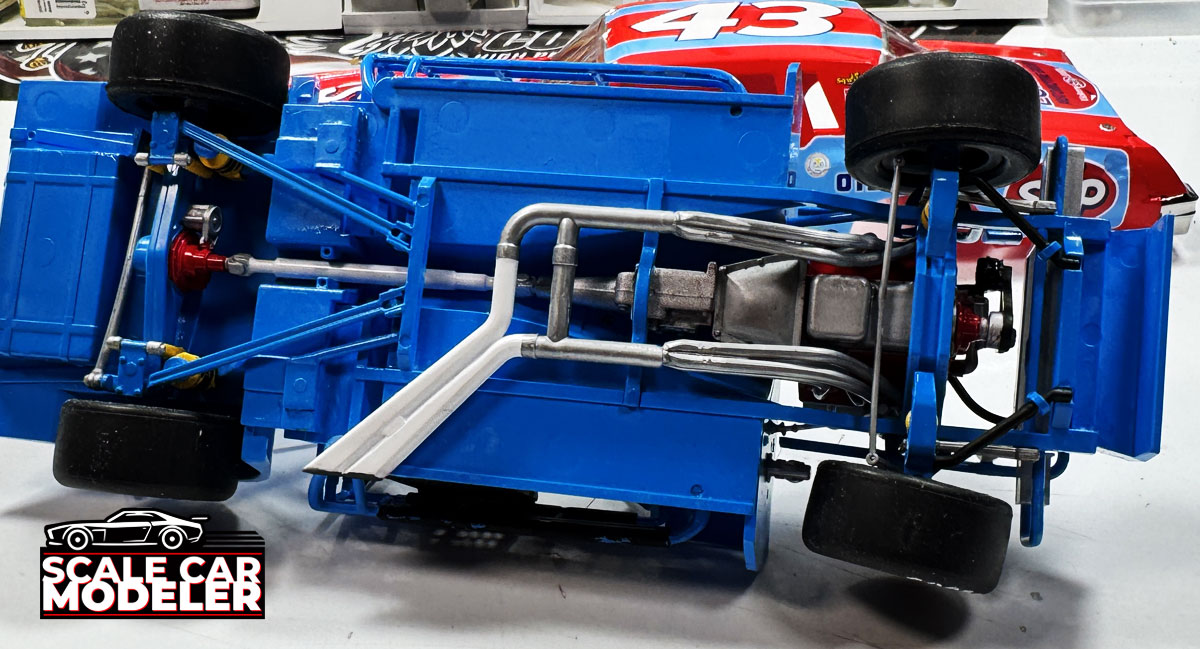 Since it's a race car, the chassis, suspension and engine are all business - no frills, just a flat chassis pan and some bracing. The chassis is a two-piece unit that has adjustable wheelbase, probably for use with different Stock Car kits. Once joined, you would never know it's multiple parts. Doing my research, I found that the 1:1 car was all about the (baby?) blue - everywhere. This actually made painting easy - everything is blue. Everything.
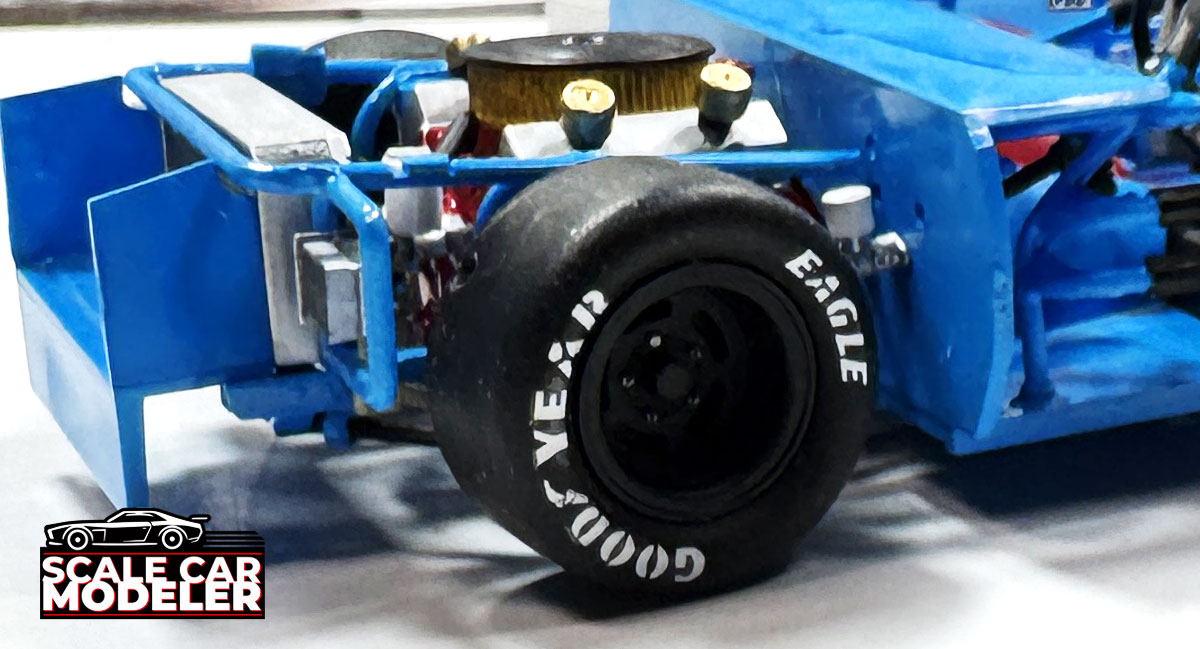
The suspension is seems minimal as well - lower crossmember that acts as a contact point for the springs and multi-shock setup (2 per corner). The standard parts are included - anti-roll bars, steering parts and steering link. Everything fits together well, however there are a few tricky parts - mainly the steering link. It's incredibly thin and delicate - I broke it cutting it from the tree. During the assembly process, I found it was a tick to short now resulting in quite of bit of front toe out. When the car is sitting flat, it's all good. When it's on the side, well, it's quite noticeable. Just be careful with this piece.
The engine was a fun build with plenty of parts to create for some great detail. Everything went together well and dropped right into the chassis when complete. The only thing I would suggest is, after painting, pre-fit EVERYTHING. Almost every hole for something is slightly undersized, including the holes in the valve covers for the breathers. Add a touch of paint and these part will no longer fit, requiring you to bore them out slightly. Not a big deal but becomes a hassle if you've already started gluing everything together. The only other tricky assembly is the headers. There's no real spacing given, so Salvinos suggests using the exhaust (attached later in the build) to properly space them when gluing. It's not perfect, but it does work. I VERY LIGHTLY tack glued the exhaust into place so I could remove it after the headers dried.
:: Interior
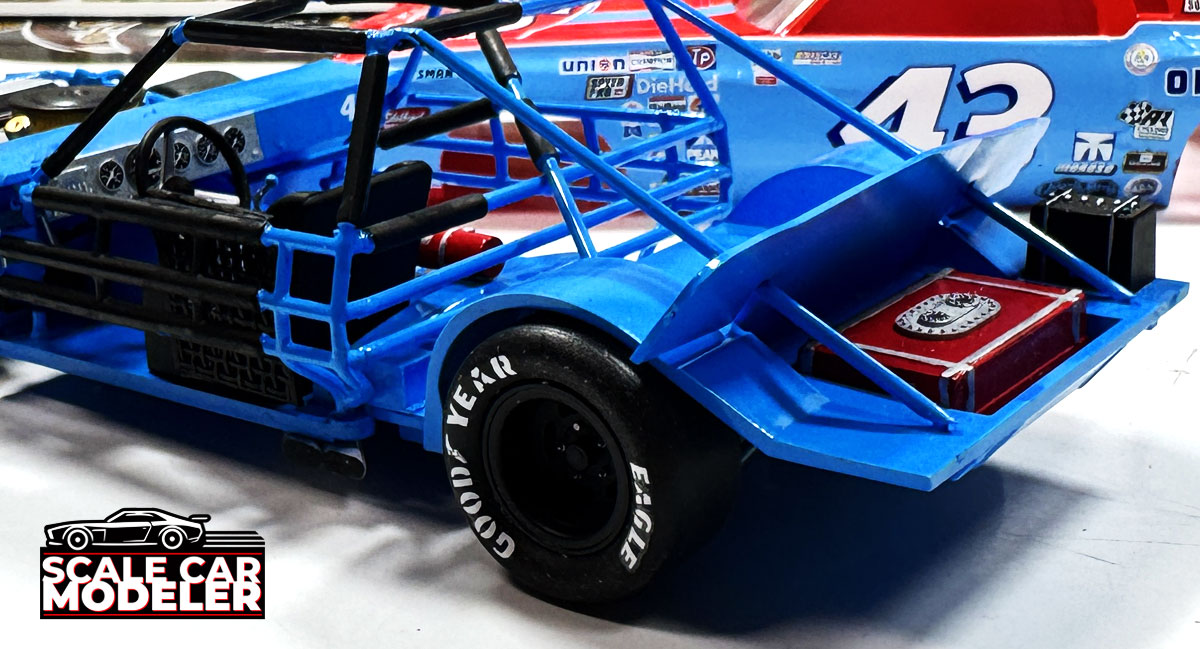
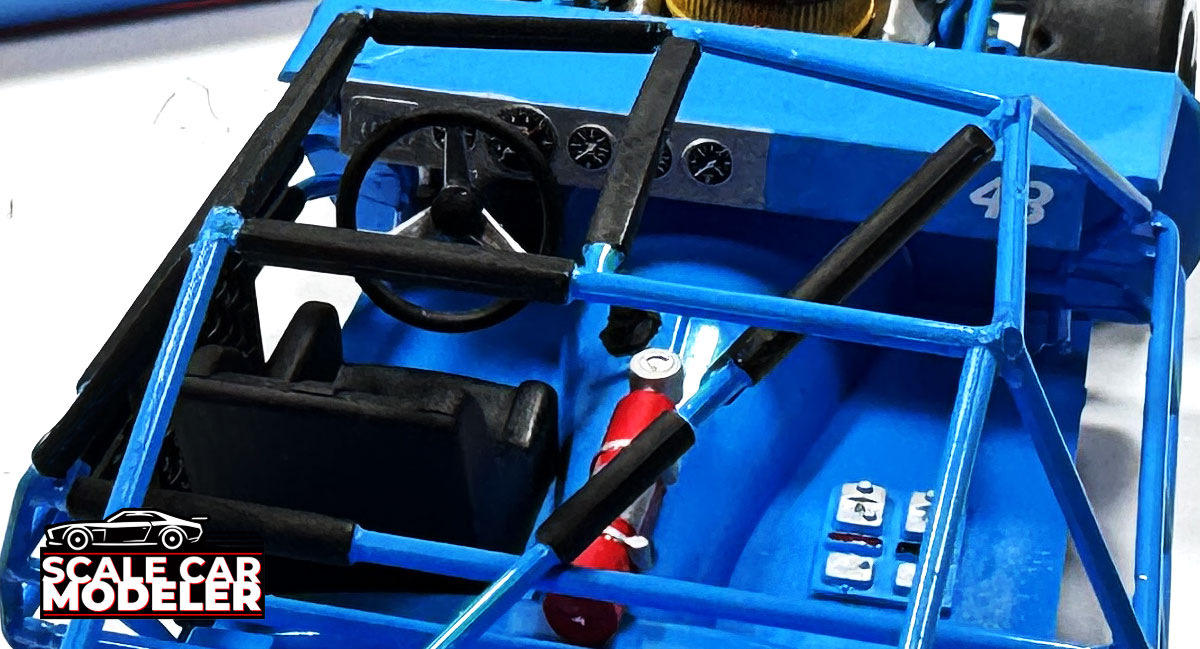
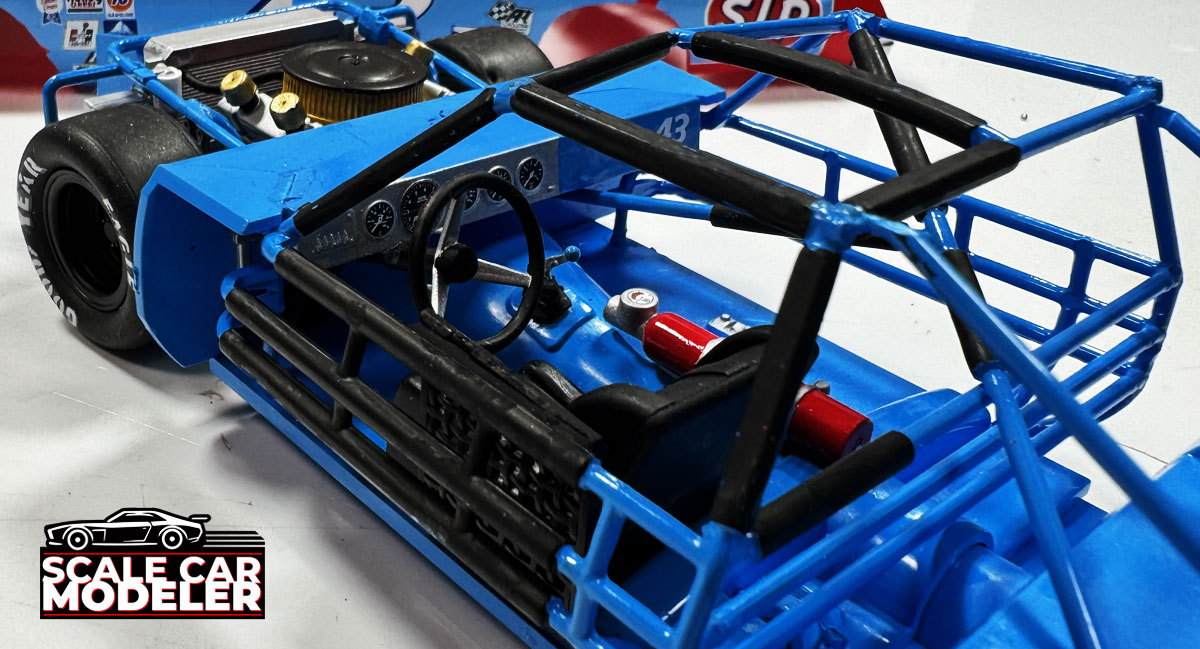 Again, race car. This means the interior has been reduced to the bare minimum - dashboard, gauges, steering wheel, driver's seat, fire bottle and roll cage. Everything here gets the blue treatment as well with a dash of paint to set things off - like the flat black added for the roll bar padding. The dash is scarce of detail save for the included decals. I added a little extra paint and added the 43 on the dashboard to give it a little flair.
This was all easy until it came time for the roll cage. I have yet to build a kit with an easy-to-assemble cage - and this Salvinos kit didn't check that either. It wasn't overly difficult, but it's hard to build the cage outside of the interior bucket and then try and fit it where it's supposed to mount, so I had to get a little creative - taping it all together, fitting it to the chassis and then touching it with glue - and it worked. Thankfully.
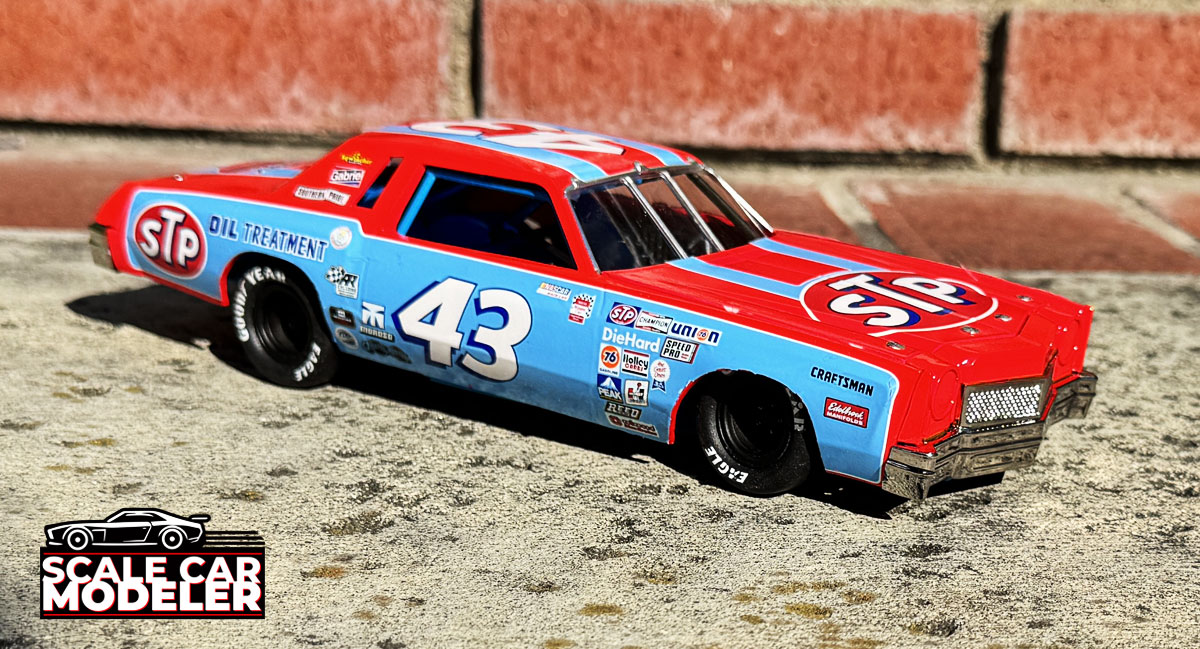
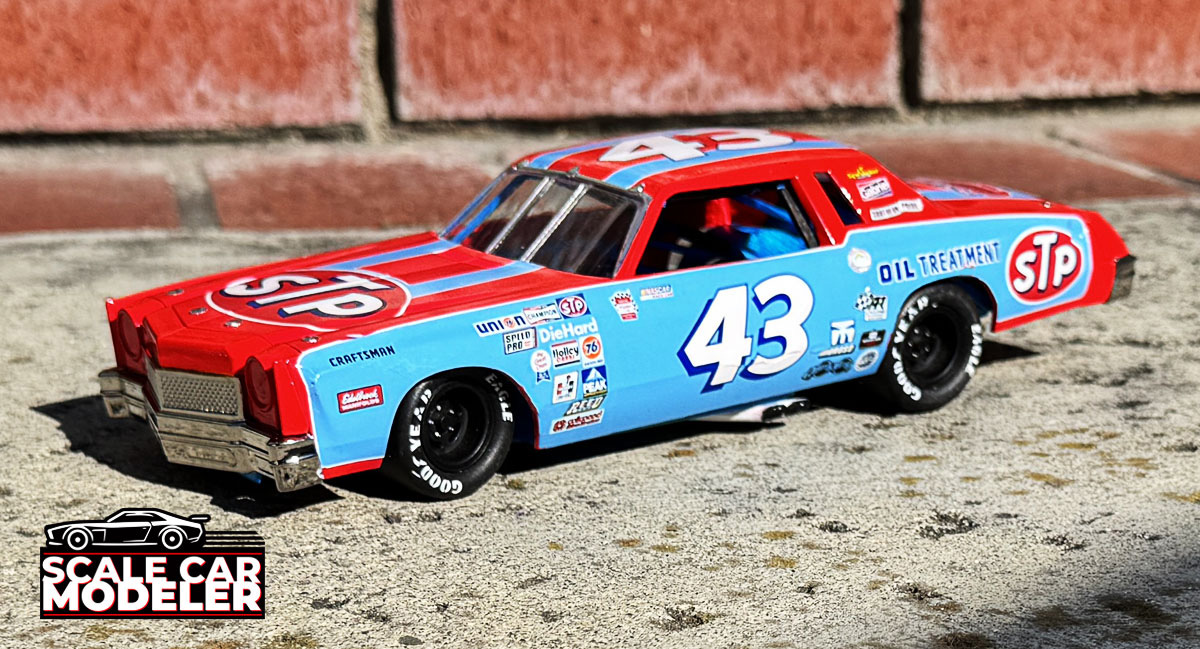
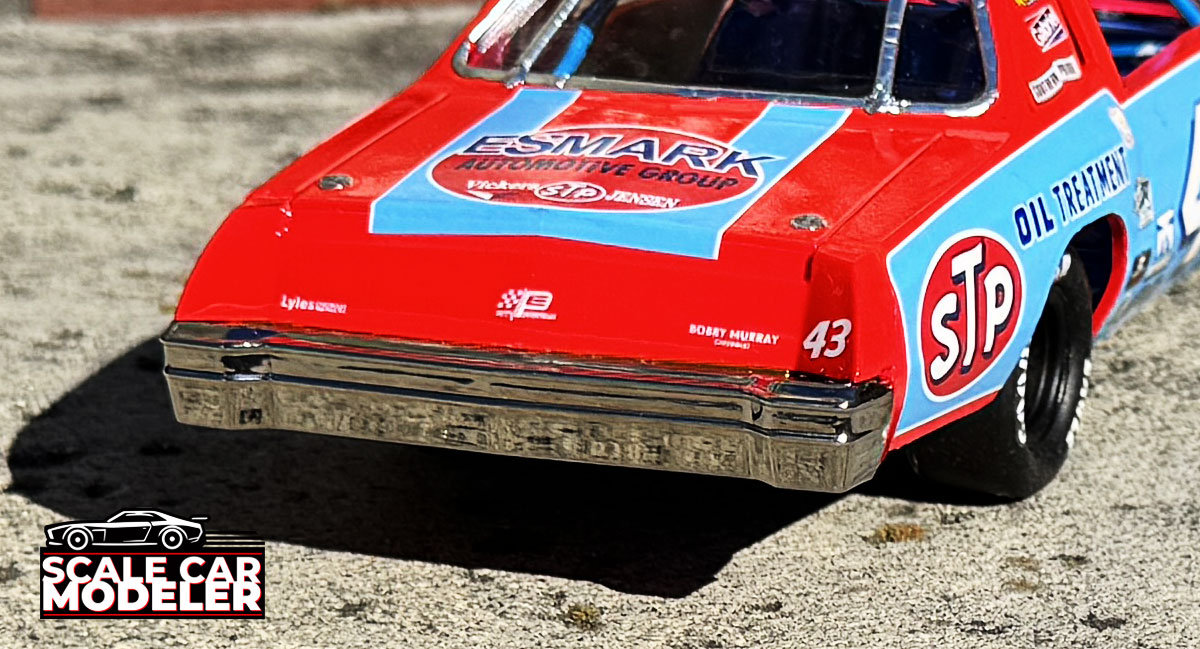
 Here's my one other 'thing to look out for' - the installation of the rear firewall. There doesn't seem to be a 'right' location for this - it's sort of up to where you place it - and that can cause an issue later on in the build. When installing the body, it can come in contact with this rear firewall and not sit down far enough. If you look at the exterior pictures of my build, you'll see the rear is much higher than the front - that's the contact with the firewall. Since there is no 'for sure' way to know how to mount the firewall, my suggestion is to remove a little off the edges (mainly the top), making it slightly lower. This should cure the problem.
:: Exterior
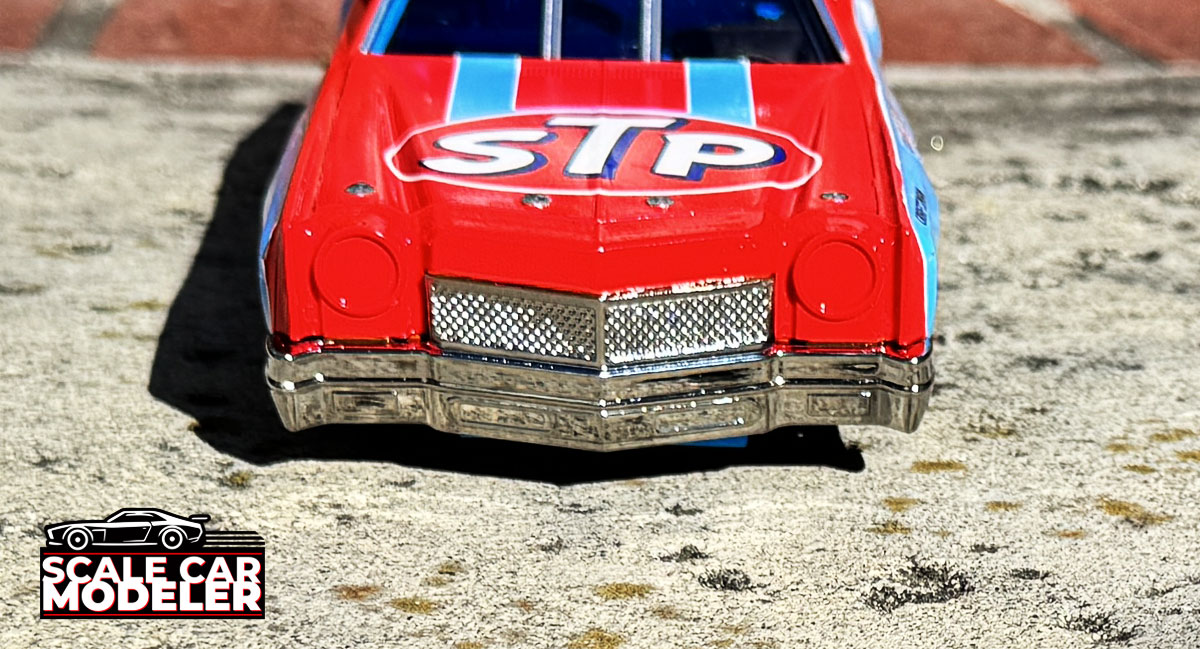
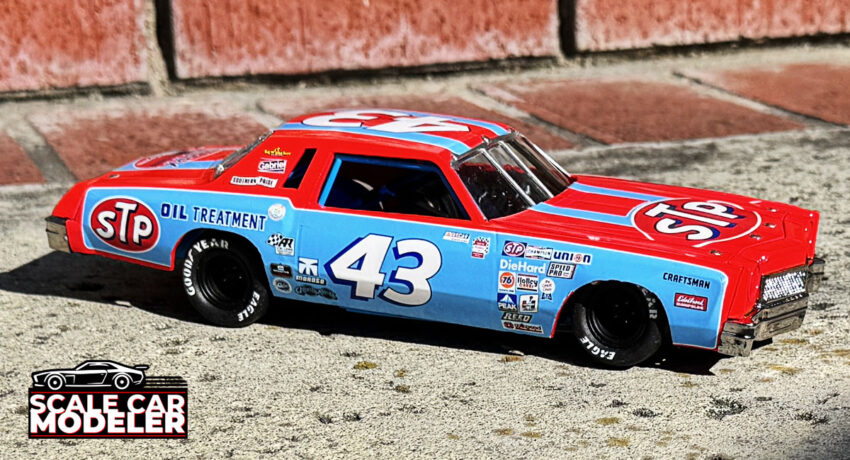
Up front, the exterior finish is quite easy - attach the front and rear clips (which don't quite fit perfectly - some hand fitting is required), paint fluorescent red, add some detail to the window surrounds (chrome bare-metal foil) and apply the decals. Everything is cool until you get to the decals - that blue area on the side of the car - one BIG decal. It's easy to position, but getting all the bubble out and contouring to the body, not so much. It took a bit of patience and if I can do it, anyone can. Just be gentle during this process - I ripped it a couple times trying to be aggressive with my bubble removal. Thankfully I was able to fix it.
:: Final Thoughts
I've always wanted to try a NASCAR / Stock Car / Indy Car build and have heard that anything from Salvinos JR Models is the one to get fort his genre of kits. While it's not quite perfect (what kit is), there's a surprising amount of detail and a healthy parts count, making it a fun and satisfying process. I enjoyed it, alot, and will be adding more Salvinos kits to my build queue!
Instruction Manual
 Salvinos JR Models Richard Petty 1980 Chevrolet Monte Carlo Manual
Gallery