Vehicle History
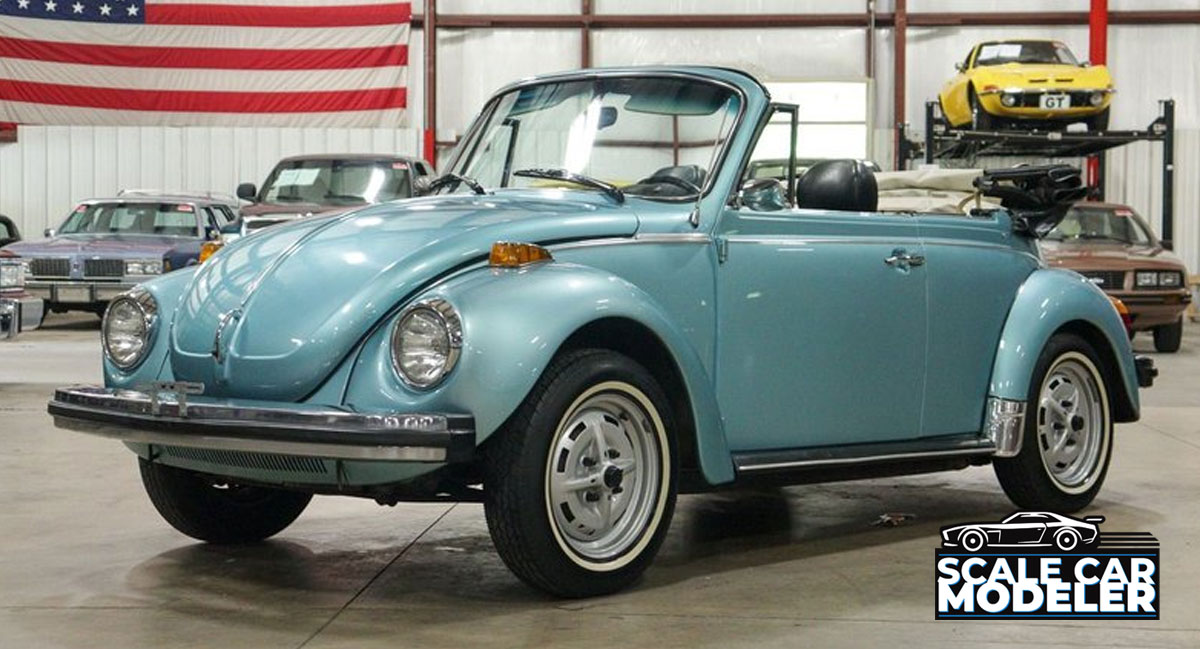
The 1979 Volkswagen Super Beetle Cabriolet marked the end of an era for one of the most iconic cars in automotive history. Produced from 1949 to 1979, the Beetle Cabriolet had been a symbol of practicality, affordability and fun, embodying the spirit of post-war automotive design. The Super Beetle Cabriolet, introduced in the early 1970s, was a refined version of the classic Beetle, featuring upgraded suspension, a curved windshield, and increased interior space. The 1979 model, in particular, represented the culmination of decades of development and design, incorporating the best of Volkswagen's air-cooled engineering.
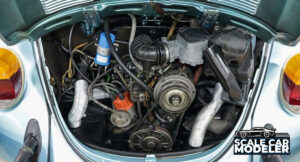 The 1979 Super Beetle Cabriolet was powered by a 1.6-liter flat-four engine with fuel injection, producing about 48 horsepower. Though modest by modern standards, this engine provided reliable performance and was known for its ease of maintenance. The car’s charm lay in its simplicity and quirky design, with features like the rear-engine layout and classic rounded shape. The convertible top added an element of fun and freedom, making it a favorite among enthusiasts. When production ended in 1979, it was clear that the Super Beetle Cabriolet had become a cultural icon, beloved by collectors and casual drivers alike. Today, the 1979 model holds a special place in the hearts of Volkswagen fans, symbolizing the end of an era for the original Beetle lineup.
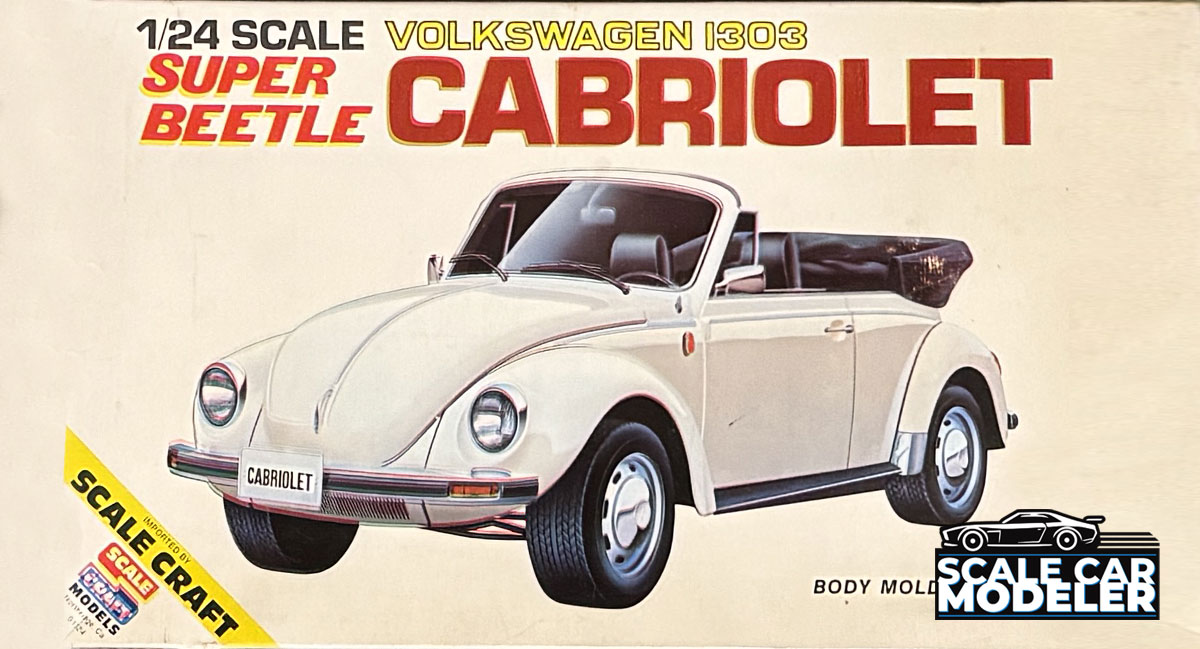
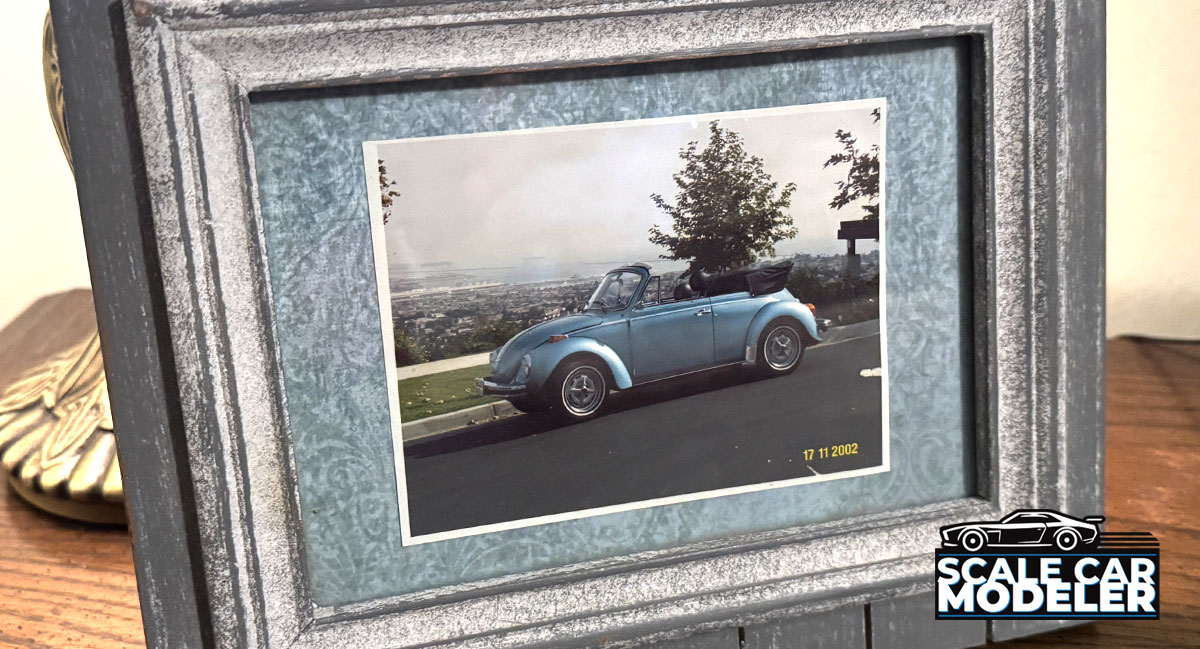
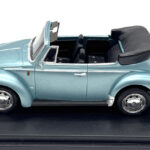
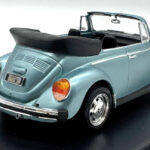
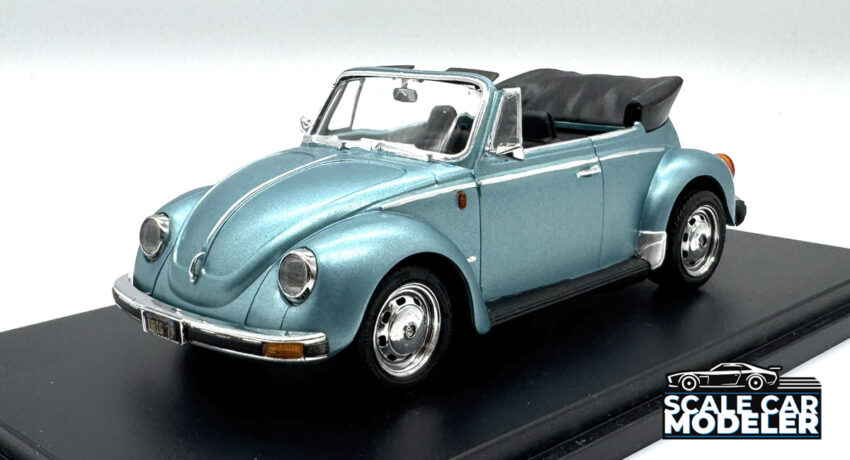
Now I typically wouldn't have chosen this kit to build, but it is a replica of the 1979 VW Super Beetle Cabriolet that my dad has in his garage. As a fun Christmas gift, I thought I'd build this for him to display somewhere in the house.
Kit Overview
The Scale Craft Models VW Super Beetle Cabriolet comes to us as a curbside kit - no engine and a very minor parts list as far as suspension goes. This is mainly due to the fact that the kit, originally, was motorized - the chassis is designed to accept a small 180-sized motor, a single AA battery and used a very basic direct-drive gear setup to propel it forward. On top of that, the front wheels had a geared steering link to set the tires to a desired angle for left and right circles of varying degrees.
 This was originally my dad's kit and, unbeknownst to me at the time, he had already started to assemble it - the tires were mounted and pressed into place on the axles and the lower 'engine parts' were attached to the chassis. So, before I had a chance to dive into the kit, I wanted to make sure I could disassemble these parts for paint and proper installation (they were sort of pressed into place to mock up the look).
:: Chassis, Engine and Suspension
The lower engine parts were relatively easy. I gave them a coat of paint, a little Tamiya Panel Liner for a bit of detail and back on the car it went. I also took a brush to some of the suspension parts to add a bit of detail as well. However, it was so basic, I didn't even think about getting a quick pic before mounting the assembled VDub to the display board. Oops.
:: Wheels and Tires
 The wheels and tires, however, were a different story. Because of this kits age, all 4 tires were cracked or broken across the tread (from being stretched all these years, I suppose). This required me to disassemble and glue to repair them, then re-mount them. Not a difficult process by any means, but just another step in the completion process I was not expecting. But wait, there's more...
:: Interior
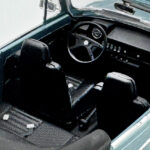
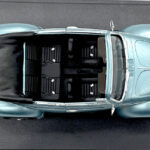
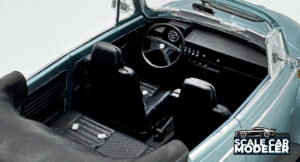
Moving on to the interior, it was all pretty straightforward. Well, except for the fact that the decal sheet was nowhere to be seen. This resulted in another panic mode, especially since I wanted to build the Super Beetle with the top down. I started by matching the colors of my dad's ride - semi-gloss black interior pieces, flat black belts with silver buckles and brown visors. Wait, what??? I then noticed (on my dad's 1:1 ride) that the interior door panels had body-colored trim all the way around. Oye. I hadn't even ordered the paint for that yet. So, I guess it's time for THAT explanation.
:: Exterior
As a fun detail to this build, I wanted to match the color on my dad's car, obviously. Well, the color was a VW River Blue so, after a bit of research, I found that I could buy that color in a rattle can for about $45. Yikes - but I knew if this kit was going to be a spittin' image of his weekend warrior I had to do it.
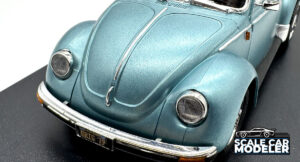 While I was waiting for the paint to arrive, I primed the body and started prepping all the external body pieces. So, do you remember me mentioning the cracked tires? Well, that same thing can happen to older plastic as well - bumpers, exhaust, rear-view mirror, window frames - it was all so old and brittle that parts kept snapping in half when I was removing them from the tree (or cleaning them up). Most of the parts I was able to fix, however the front hood latch exploded during removal (from the sprue) and decided to exit the universe - gone - leaving me with no option for a front latch. Thankfully, I had an old Tamiya 1966 VW Beetle model kit lying around (a parts car) that had the front latch still attached to the chrome tree. A quick snip and fitment check and boom - we were back in business.
:: Final Assembly
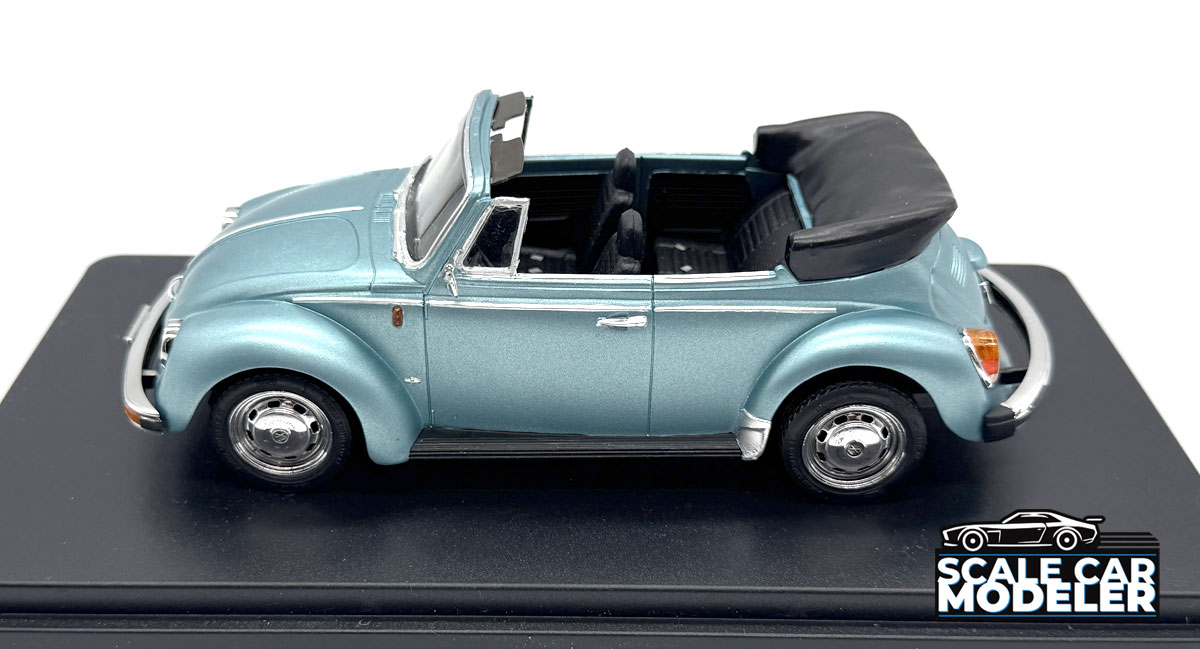
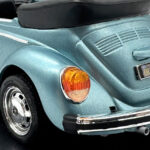
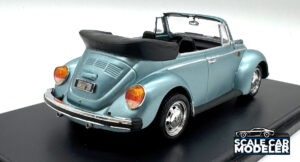
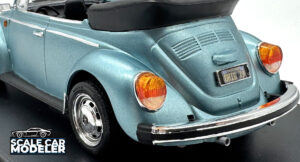 Final assembly was a bit tricky as well. Getting the completed body onto the chassis was a massive struggle and required some hand fitment to get it in place. You may notice the rear sitting a bit higher than the front. Ya, not sure why that is as everything FINALLY got pressed into place but, I'm sure, something is hanging up somewhere. You may also notice the front tires are much more inset that the rears. These were pressed into place YEARS ago and I couldn't get them apart to 'fix' the width. Oh well.
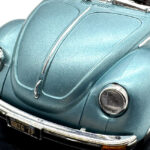
Now, on a positive note, this is my first kit where I had a chance to play with Bare Metal Foil. I applied it to the hood and side body trim, door handles, window trim, wipers and emblems. Let me tell you, this stuff is magical. It's super easy to apply, super easy to mold and super easy to clean up - it just requires a bit of patience and a very sharp hobby knife blade. I love this stuff - it really is my new best friend.
:: Additional Notes
As much of a headache as I had with most of the build, it was a really fun experience to be able to overcome some building obstacles and create, at least in my eyes, a really cool rendition of my dad's love - his 1979 Super Beetle. While it's not quite a spittin' image like I had imagined (wrong wheels and no fender-mounted signals, for two quick call-outs), it does look pretty close. Had I had more time I probably could have sourced those two fixes but with Christmas coming quick, it is what it is. And boy oh boy, that color is spot on!
Another build done for 2024. Looking forward to tackling some more of his 'old' kits soon. Kinda...
Enjoy your build.
Instruction Manual
 Scale Craft Models VW Super Beetle Cabriolet Model Kit Manual


