
Tamiya Paint Types Explained: X, XF, LP, TS and PS

Tamiya Paint Types Explained: X, XF, LP, TS and PS

Walk into the paint section of a well-stocked hobby shop and Tamiya’s paint system can look like alphabet soup. You will see small bottles marked X, XF and LP, plus spray cans labeled TS and PS. The colors may look similar, but the paints inside are not always interchangeable.

Choosing the wrong finish might give you a little extra shine. Choosing the wrong type of paint could damage the plastic, attack an earlier coat or leave you with a finish that never behaves as expected.

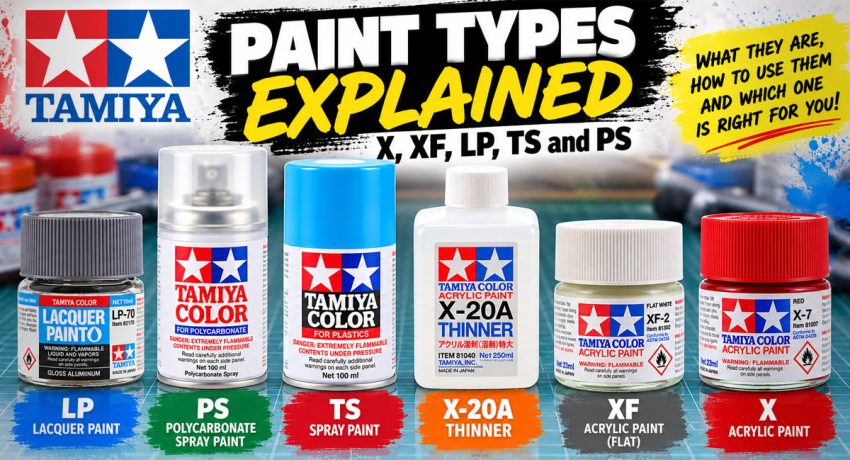
The good news is that Tamiya’s system becomes much easier once you understand what the letters mean:

X: Bottled acrylic paint, usually gloss
XF: Bottled acrylic paint with a flat finish
LP: Bottled lacquer paint
TS: Lacquer spray paint for standard plastic models
PS: Spray paint made for clear polycarbonate bodies

For most scale car builders, X, XF, LP and TS paints will cover nearly every job. PS paint belongs to a different corner of the hobby and should not be used on a regular polystyrene model body.

Let’s look at each type, how it is used and which one makes the most sense for your next build.

Quick Tamiya Paint Comparison

Paint TypeContainerBasic Paint FamilyTypical FinishBest Uses
XBottleAcrylicUsually glossInteriors, engines, trim, details and airbrushing
XFBottleAcrylicFLatInteriors, chassis parts, seats, carpets and weathered surfaces
LPBottleLacquerGloss, semi-gloss, flat or metallicAirbrushed bodies, chassis and detailed parts
TSSpray canLacquerVaries by colorStandard plastic model bodies and larger parts
PSSpray canPolycarbonate paintVaries by colorClear flexible RC car bodies only

The table gives you the short answer. The rest of this guide explains the details that can save a paint job.

What Are Tamiya X Paints?
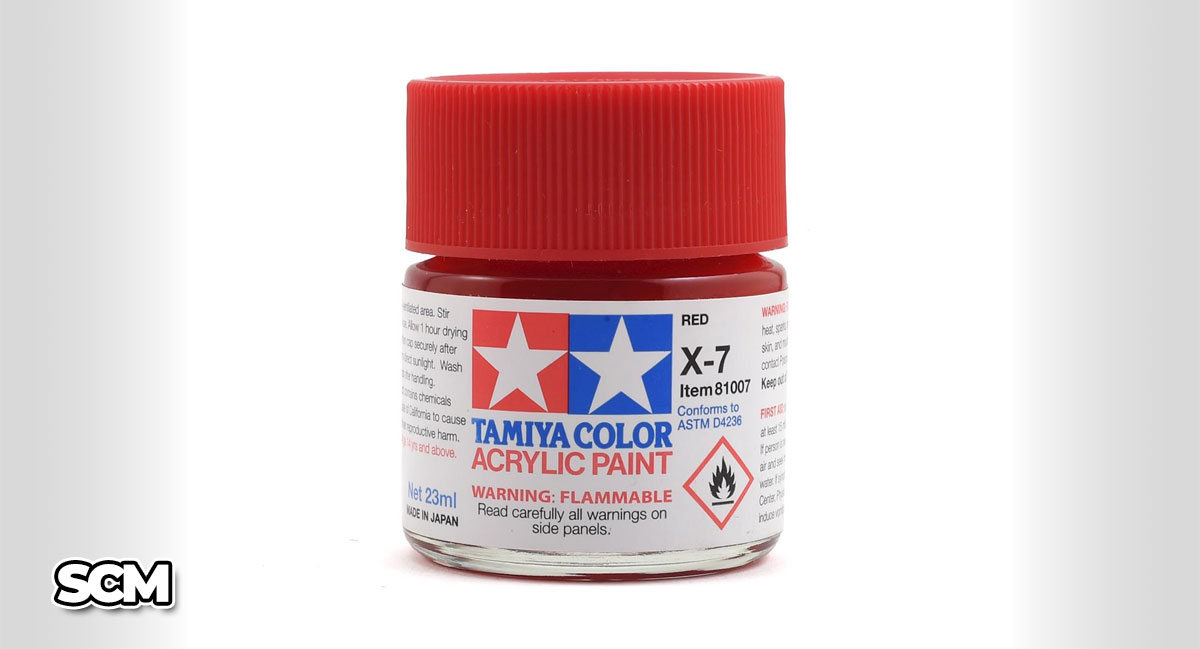
Tamiya X PaintTamiya X paints are bottled acrylic paints. Most X colors have a gloss finish, although the X range also includes metallics, transparent colors and clear coats with other sheen levels.

Common examples include:
• X-1 Black
• X-2 White
• X-7 Red
• X-11 Chrome Silver
• X-18 Semi Gloss Black
• X-22 Clear
• X-26 Clear Orange
• X-27 Clear Red

Tamiya describes its acrylic line as being made with water-soluble acrylic resins and suitable for brushing or spraying on common model plastics, styrene foam and wood. Tamiya also makes X-20A Acrylic Thinner specifically for thinning these paints and cleaning tools. Tamiya’s X-20A product information provides the official description of the acrylic range.

Where X Paints Work Best

X paints are useful anywhere you want a smooth or shiny finish without opening a spray can. On a scale car, that may include:

• Gloss-painted interior trim
• Engine parts
• Dashboard controls
• Gauge lenses
• Tail lights and turn signals
• Chrome or metallic details
• Small exterior parts
• Clear coats over decals or painted details

Transparent X colors are especially useful for light lenses. A coat of X-27 Clear Red over the back or inside of a clear tail-light lens can create a convincing translucent red finish. X-26 Clear Orange works well for turn signals.

X-18 Semi Gloss Black deserves special mention. It is one of the most useful colors on a model car. It works well on engine bays, suspension parts, window trim, interior panels and any component that should look black without appearing either dead flat or freshly dipped in glass.

Brushing Tamiya X Paint

Tamiya acrylics can be brush painted, but they do not behave like traditional water-based craft paints. They dry quickly and can begin lifting or dragging if you repeatedly brush over the same area.

For better results:

1. Stir the paint well.
2. Place a small amount on a palette.
3. Add a little X-20A thinner if the paint feels thick.
4. Apply a thin coat with as few brush strokes as possible.
5. Let the coat dry before adding another.

Two thin coats usually look better than one heavy coat. Avoid trying to make the first coat completely opaque.

Acrylic paint retarder can also help slow drying and reduce brush marks. Use only a small amount. Too much retarder can leave the paint soft or greatly extend its drying time.

Airbrushing Tamiya X Paint

X paint also works well through an airbrush. X-20A is the straightforward thinner for beginners because Tamiya designed it for this paint line.

There is no single thinning ratio that works for every airbrush, color, temperature and air pressure. A 1:1 starting ratio of paint to thinner is common, but it is only a starting point. Some colors need less thinner, while fine work performed at lower pressure may need more.

Aim for a mixture that flows smoothly and produces a fine, even coat without spitting or flooding the surface. Test the mixture on a plastic spoon or scrap part before spraying the model.

What Are Tamiya XF Paints?
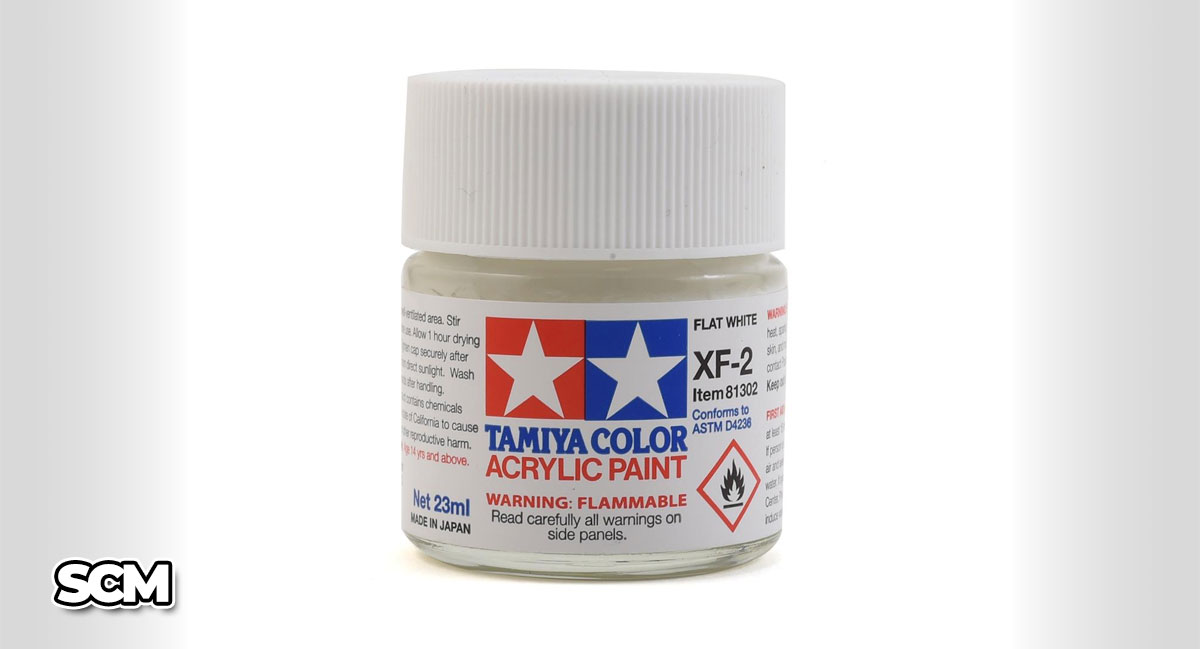
Tamiya XF PaintTamiya's XF paints use the same bottled acrylic system as the X range, but XF colors dry with a flat or matte finish.

Common examples include:
• XF-1 Flat Black
• XF-2 Flat White
• XF-7 Flat Red
• XF-16 Flat Aluminum
• XF-56 Metallic Gray
• XF-63 German Gray

The “F” in XF is an easy reminder that these are the flat colors.

Where XF Paints Work Best

Flat paint is useful on many scale car parts because real vehicles are not uniformly glossy. XF colors work especially well for:
• Fabric seats
• Carpeted areas
• Rubber parts
• Chassis components
• Exhaust systems
• Flat-painted dashboards
• Engine details
• Weathering and shading
• Racing interiors
• Military or utility vehicles

XF-1 Flat Black is useful, but it should not become the default color for every black part. A model often looks more realistic when you vary the sheen. Flat black can represent rubber, carpet or fabric. Semi-gloss black can represent painted metal or molded plastic. Gloss black can represent polished paint.

This small change in sheen helps separate parts visually, even if they are all technically black.

Brush and Airbrush Use

XF paints can be brushed and airbrushed in the same basic way as X paints. Use Tamiya X-20A Acrylic Thinner for normal thinning and cleanup.

Flat paints contain matting agents that settle in the bottle, so stir them thoroughly. Shaking alone may leave material stuck to the bottom. A poorly mixed flat paint can dry glossier than expected or leave an uneven finish.

Flat paint can also appear lighter after it dries. This is normal. The rougher surface scatters light differently than a gloss surface.

Are Tamiya X and XF Paints Water-Based?
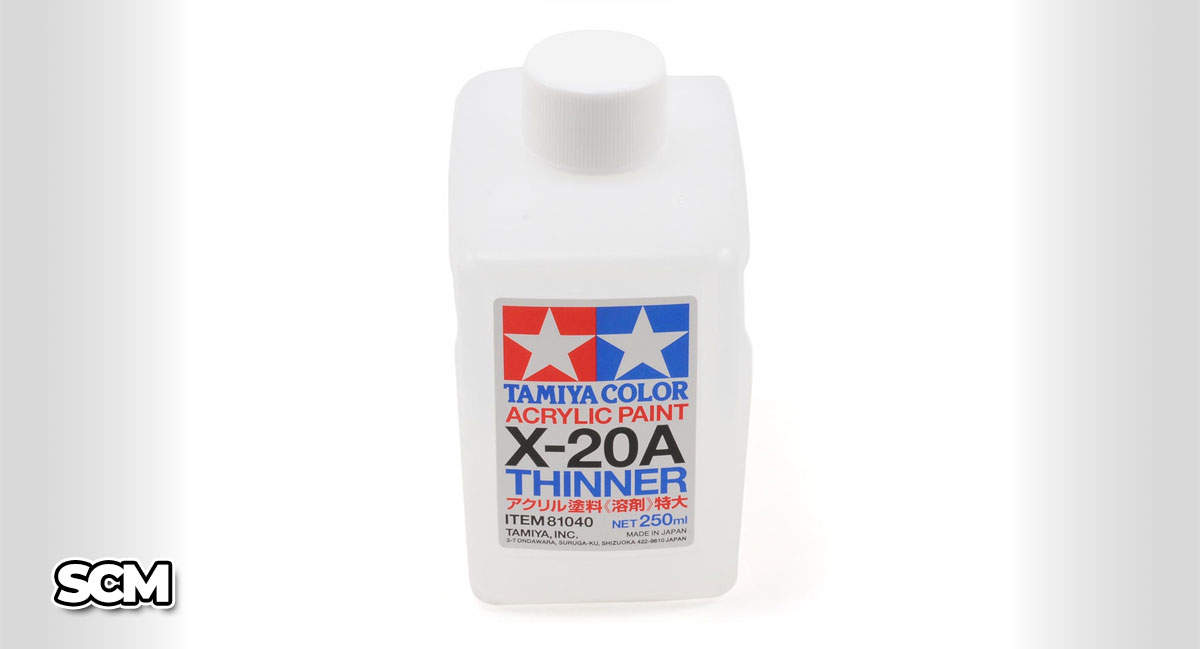
Tamiya X-20A Acrylic Thinner
Tamiya officially describes X and XF paints as water-soluble acrylic resin paints. That does not mean they behave exactly like the water-based acrylic paints commonly used for miniatures or crafts.

They can have a noticeable solvent or alcohol-like odor, dry quickly and respond best to Tamiya’s X-20A Acrylic Thinner. Water may be useful for limited cleanup while the paint is fresh, but plain water is not always the best choice for dependable airbrush thinning.

For a beginner, the safest approach is simple:
• Thin X and XF paints with X-20A
• Clean brushes promptly
• Use the correct airbrush cleaner
• Work with good ventilation
• Do not assume that every product labeled “acrylic” can be mixed with every other acrylic product

“Acrylic” describes a broad paint family. It does not guarantee that two brands use compatible solvents, additives or binders.

What Are Tamiya LP Paints?
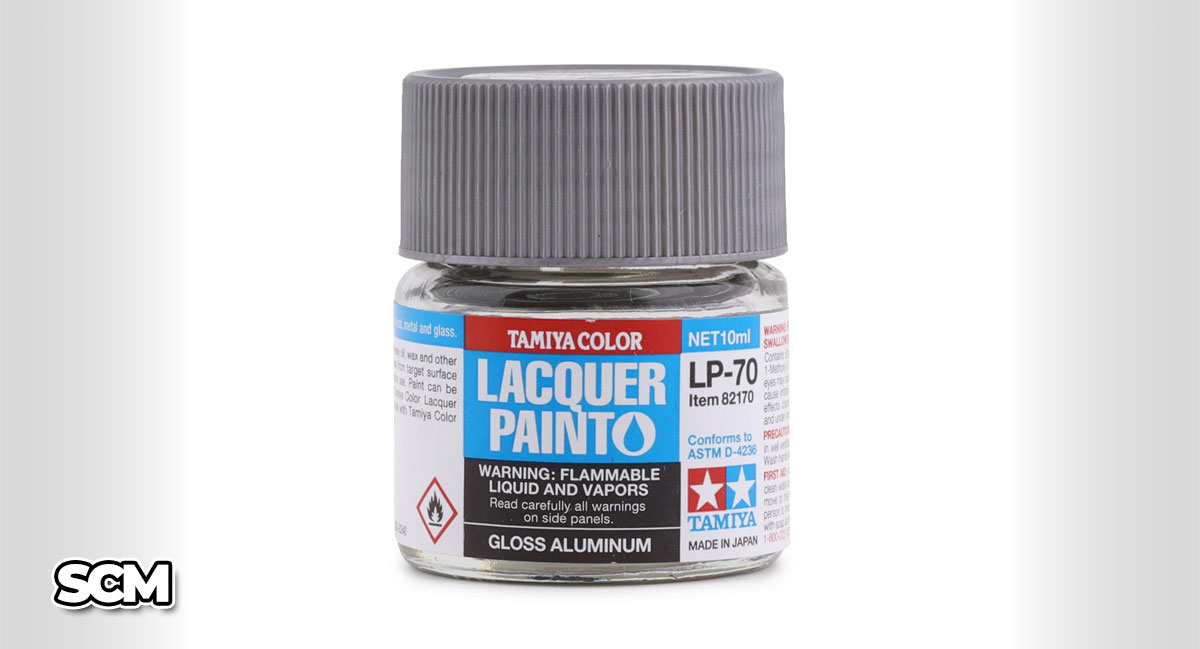
Tamiya LP PaintLP stands for Tamiya Color Lacquer Paint. These paints come in small bottles and are intended mainly for airbrushing, although they can be brush painted in small areas.

Unlike X and XF paints, LP paints require lacquer thinner. Tamiya Lacquer Thinner can also be used to clean airbrushes and painting tools, thin lacquer-based paint and thin liquid surface primer. Tamiya’s lacquer thinner information explains those intended uses.

Why Modelers Like LP Paint

LP paint dries quickly, bonds well and can produce a hard, smooth finish. It is especially useful for scale car bodies because it can be built up in controlled layers and polished after it has fully cured.

LP paints are available in gloss, flat, semi-gloss, metallic and clear finishes. Always read the color name instead of assuming that every LP paint has the same sheen.

On a scale car, LP paint can be used for:
• Exterior body colors
• Engine bays
• Chassis parts
• Wheels
• Interior components
• Metallic finishes
• Clear coats
• Small parts sprayed separately

Thinning LP Paint

LP paint must be thinned before normal airbrush use. Begin with the thinner recommended by Tamiya and adjust the mixture based on your equipment and the job.

A roughly equal mixture of paint and thinner can be a useful starting point, but gloss body work may benefit from a thinner mixture applied in several controlled coats. The goal is smooth atomization, not adherence to a magic ratio.

Too little thinner can cause:
• A rough or pebbled finish
• Dry spray
• Tip buildup
• Poor leveling

Too much thinner can cause:
• Runs
• Weak coverage
• Paint collecting around panel lines
• A surface that stays wet longer than expected

Test the mixture before spraying the model.

Advantages of LP Paint

Compared with X and XF acrylics, LP paint generally offers:
• Faster drying
• A harder finish
• Strong adhesion
• Smooth airbrush performance
• Good durability during masking and polishing

The tradeoff is that lacquer fumes require more care. Use strong ventilation or a suitable spray booth and wear respiratory protection appropriate for organic vapors. A paper dust mask is not designed to protect you from solvent fumes.

What Is Tamiya TS Spray Paint?
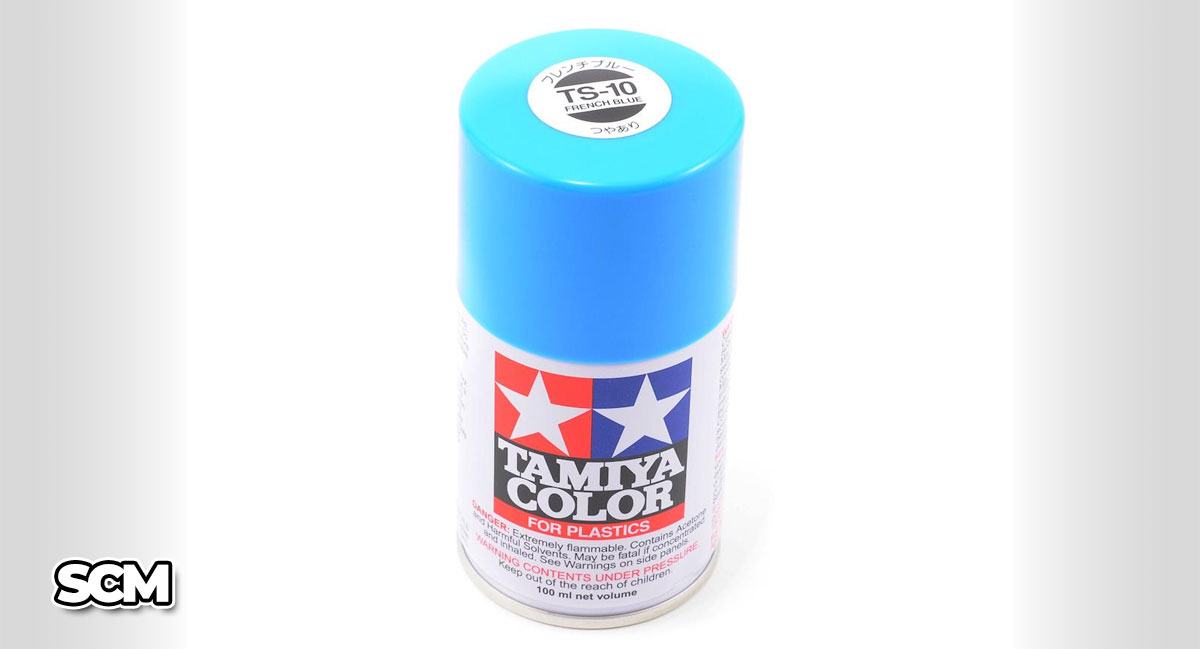
Tamiya TS Spray PaintTS is Tamiya’s spray-paint range for standard plastic models. For a scale car builder without an airbrush, TS paint is one of the easiest ways to achieve a smooth body finish.

TS paints are commonly used on:
• Polystyrene car bodies
• Motorcycles
• Large body panels
• Chassis parts
• Wheels
• Other standard model-kit parts

The range includes solid colors, metallics, clear coats and specialty finishes.

Why TS Paint Works Well on Model Cars

A spray can covers a large surface faster and more evenly than a brush. TS paint also dries faster than many traditional enamel sprays and can produce a finish suitable for sanding and polishing once it has fully cured.

The main challenge is control. A spray can delivers much more paint than an airbrush, so it is easy to flood panel lines, create runs or build up too much paint along body edges.

How to Use TS Spray Paint

Before painting:

1. Finish the bodywork.
2. Wash the body to remove dust, sanding residue and skin oils.
3. Let it dry completely.
4. Apply a compatible model primer.
5. Correct any flaws revealed by the primer.
6. Shake the can thoroughly.

When spraying:

1. Spray outdoors in suitable weather or inside a proper spray booth.
2. Hold the can at a consistent distance.
3. Begin spraying beside the model.
4. Move across the body in a smooth pass.
5. Release the nozzle after passing beyond the opposite edge.
6. Overlap each pass slightly.
7. Apply light coats before attempting a wetter finishing coat.

Starting and stopping directly over the body can place a heavy blob of paint on the surface.

Some builders warm a spray can in lukewarm water before use to improve atomization. If you do this, use only comfortably warm water. Never use boiling water, an open flame, a stove, a heat gun or any method that can overheat a pressurized can.

TS Versus LP Paint

TS and LP are both lacquer paint systems, but they are delivered differently.

Choose TS when:
• You do not own an airbrush
• The correct body color is available in a can
• You are painting a full body or another large part
• You want a straightforward system with little cleanup

Choose LP when:
• You own an airbrush
• You want more control over paint volume and spray width
• You need to mix a custom color
• You are painting smaller parts
• You want to adjust thinning for different effects

TS is convenient. LP is flexible. Both can produce excellent finishes.

Advanced painters sometimes decant TS paint for airbrush use, but that process involves pressurized, highly flammable material and paint that may continue releasing propellant after it leaves the can. It is not necessary for a beginner and should only be attempted after learning the correct safety procedures.

What Is Tamiya PS Spray Paint?

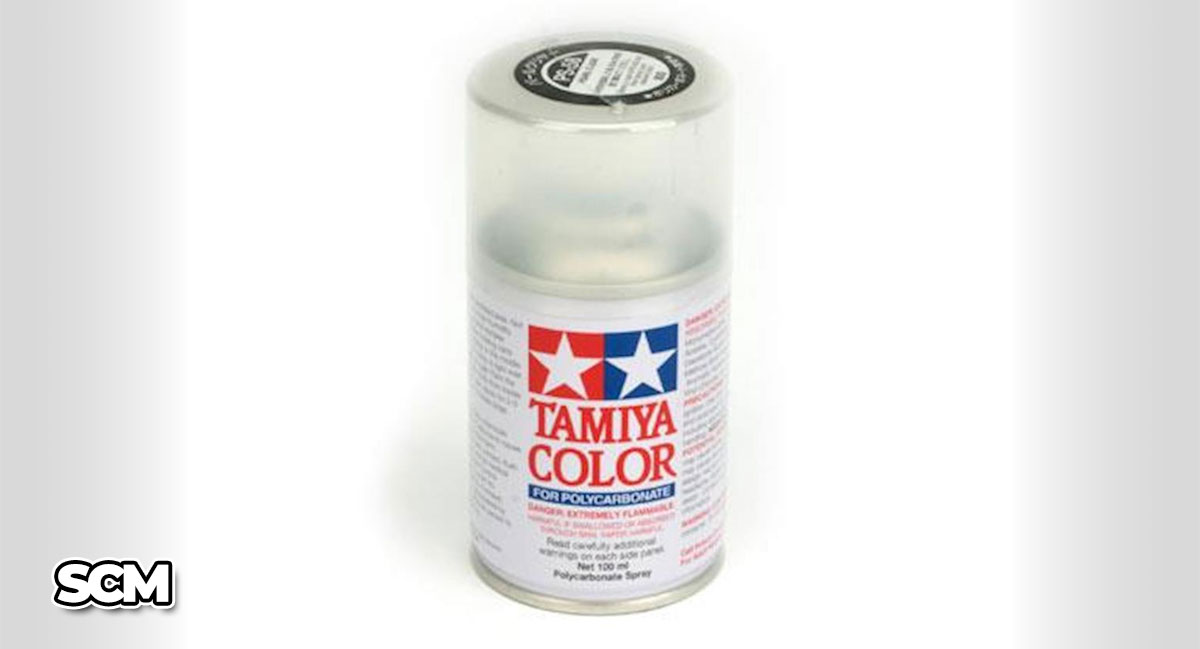
Tamiya PS PaintTamiya's PS paint is made specifically for clear polycarbonate bodies, most often the flexible shells used on radio-control cars.

This is not ordinary model paint.

Tamiya states that PS sprays were developed for transparent polycarbonate RC bodies, are normally sprayed on the inside of the body and should never be used on plastic models. [Tamiya’s official PS paint instructions](https://www.tamiya.com/english/products/86005/index.html) make that warning clear.

Why Polycarbonate Needs Different Paint

A thin polycarbonate RC body bends, twists and absorbs impacts. Standard model paint may crack, flake or separate when the body flexes.

PS paint is formulated to bond to polycarbonate and remain flexible. That makes it excellent for its intended job, but it does not make it a stronger version of TS paint.

PS paint is chemically aggressive toward standard model plastics. Spraying it on a normal polystyrene scale car body can damage the surface.

The simplest rule in this article is:
TS is for standard plastic model bodies. PS is for clear polycarbonate RC bodies.

Even if a PS color looks perfect for your scale car, do not use it on the kit body unless the instructions specifically identify that body as polycarbonate.
Can Tamiya Paint Types Be Used Together?

They can, but compatibility depends on the paint type, how long the lower coat has cured and how heavily the next coat is applied.

A hot solvent coat sprayed heavily over a softer or incompletely cured finish may wrinkle, craze or lift the paint underneath. Even products that usually work together can fail when the lower layer is too fresh or the upper layer is applied too wet.

For reliable results:
• Let each paint layer cure fully
• Use products from the same system when possible
• Apply the first coat over another paint as a light mist
• Allow that mist coat to settle before applying more
• Test the complete paint sequence on a spare part or plastic spoon
• Be especially careful when applying lacquer over acrylic paint or decals

There is a difference between “dry to the touch” and “fully cured.” A surface may feel dry while solvent remains trapped underneath.

Clear coats deserve the same care. A heavy wet coat of clear can disturb color coats, attack decals or soften delicate metallic finishes. Begin with light coats and build coverage slowly.

A Beginner Painting Walkthrough for a Scale Model Car

Here is a simple approach that uses TS paint for the body and X or XF paints for the smaller parts. It is a practical setup for someone who wants a good finish without buying an airbrush immediately.

Step 1: Read the Instructions
Check the color callouts before assembly. Look for parts that will be difficult to reach later.

Decide which components should be painted separately. The body, dashboard, seats, engine, wheels and chassis may all need different finishes.

Step 2: Prepare the Body
Remove mold lines and seam marks with fine sanding sticks or sandpaper. Test-fit bumpers, spoilers and other exterior parts before painting.

Wash the body with mild dish soap and warm water. Use a soft brush to reach panel lines. Rinse it well and allow it to air-dry.

Avoid handling the clean body with bare fingers more than necessary.

Step 3: Apply Primer
Use a model primer compatible with polystyrene (like Tamiya's Surface Primer). Apply several light passes instead of one heavy coat.

Primer helps the color coat adhere and makes scratches, sink marks and seam lines easier to see. If the primer reveals a flaw, correct it before moving forward. Gloss paint has a special talent for finding the one sanding scratch you hoped nobody would notice.

Let the primer cure and smooth it if needed.

Step 4: Spray the Body with TS Paint
Shake the can thoroughly. Test the spray pattern away from the model.

Apply a light tack coat first. It may look thin and uneven, which is fine. Follow it with additional coats after the recommended waiting time.

Build the color gradually. Once you have even coverage, apply a controlled finishing coat that is wet enough to level but not so wet that it runs.

Do not chase a dry patch by holding the nozzle over one spot. That is how a small problem becomes a large drip.

Step 5: Let the Paint Cure
Place the body in a clean, dust-free area. A covered container can protect it, but make sure air can circulate and solvent fumes can escape safely.

Resist the urge to handle the finish too soon. Lacquer may feel dry on top before it is ready for masking, sanding, decals or polishing.

Drying time changes with temperature, humidity, coat thickness and paint type. Follow the paint instructions and give the finish extra time when in doubt.

Step 6: Paint the Interior and Small Parts
Use XF colors for fabrics, carpets and other flat surfaces. Use X colors for gloss or semi-gloss trim, engine details and controls.

A realistic interior usually includes several sheen levels:
• Flat black for carpet
• Semi-gloss black for molded interior panels
• Gloss black for polished trim
• Metallic gray or aluminum for hardware
• Clear colors for gauges and indicator lenses

Keep the coats thin so molded texture and small details remain visible.

Step 7: Add Decals
Apply decals only after the paint has cured. A smooth gloss surface usually reduces the chance of visible silvering under clear decal film.

Use decal-setting products (like Tamiya's Mark Fit) carefully and test them if you are unsure how they will react with the paint or clear parts.

Allow the decals to dry completely before handling or clear coating.

Step 8: Apply Clear Coat if Needed
A clear coat can protect decals, unify the sheen and provide material for final polishing. It is not mandatory for every build.

If you use a clear coat:

1. Make sure the color and decals are fully dry.
2. Apply a light mist coat.
3. Allow it to settle.
4. Add more light coats.
5. Finish with a controlled wet coat only after the surface is protected.

Clear coat will not automatically repair poor preparation or rough color coats. The smoother the surface before clear, the easier the final finishing process will be.

Step 9: Polish the Finish
After the clear coat has fully cured, small dust particles and minor orange peel can be corrected with very fine sanding products and polishing compounds.

Go slowly around body lines, corners and raised details. Paint is usually thinnest on sharp edges, making those areas easy to sand through.

A beginner does not need to produce a mirror finish on the first attempt. A clean, even finish with no runs is already a strong result.

Common Tamiya Paint Mistakes

Confusing TS and PS
This is the most important mistake to avoid. Similar can design does not mean similar paint.

TS: standard plastic models
PS: polycarbonate RC bodies

Check the letters before buying and again before spraying.

Using the Wrong Thinner
Use X-20A for normal X and XF acrylic thinning. Use the appropriate lacquer thinner for LP paint.

Do not pour random household solvent into model paint and hope for the best. A thinner can dissolve paint yet still produce poor spraying, weak adhesion or surface damage.

Applying Heavy Coats
Heavy coats can run, soften detail and trap solvent. Start light and build coverage.

Painting Over Uncured Layers
A finish can feel dry while remaining soft underneath. Masking or clear coating too soon can leave marks or cause wrinkles.

Failing to Stir Flat Paint
Matting agents settle. Stir XF paint thoroughly or the sheen may be inconsistent.

Treating Every Black the Same
Flat, semi-gloss and gloss black create very different visual effects. Using more than one makes a model look more realistic.

Skipping the Test Piece
A plastic spoon costs very little. A rare kit body does not.

Use a test piece to check:
• Color
• Coverage
• Thinning
• Air pressure
• Paint compatibility
• Clear-coat reaction
• Final sheen

Which Tamiya Paint Should a Beginner Choose?
For a first scale car, a simple combination works well:

TS spray paint for the exterior body
X and XF acrylic bottles for the interior, chassis and small details
Tamiya primer under the body color
* A compatible TS clear, if the finish and decals call for one

This approach avoids the cost and learning curve of an airbrush while still providing good control over detail painting.

If you already own an airbrush and have proper ventilation, LP paint gives you more control and can produce an excellent body finish.

PS paint should only enter the picture when the body is clear polycarbonate, such as an RC car shell.

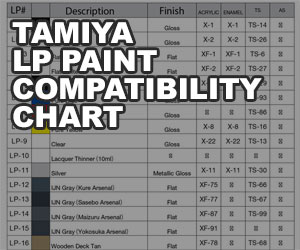
Don't forget to check out our Tamiya LP Paint Compatibility Chart. It can help you match up your X/XF/LP color options when you need to change paint formats.

FAQ

Q: What is the difference between Tamiya X and XF paint?
Both are Tamiya bottled acrylic paints. X colors are generally gloss, transparent, metallic or another non-flat finish. XF colors are flat. Always read the full color name because some X products, such as semi-gloss clear, have a specific sheen.

Q: Can Tamiya X and XF paints be mixed?
X and XF paints belong to the same acrylic range and can generally be mixed to create custom colors or adjust sheen. Mix a small test batch first and record your proportions if you may need more later.

Q: Can I brush paint an entire car body with X paint?
It is possible, but achieving a smooth, consistent gloss finish over a full body is difficult with a brush. TS spray paint or airbrushed LP paint is usually a better choice.

Q: Can I spray TS paint over Tamiya primer?
Yes, compatible Tamiya primer and TS paint are commonly used together. Allow the primer to dry, correct any defects and begin the color with light coats.

Q: Can I use PS paint on a normal model car?
No. Tamiya specifically warns against using PS paint on plastic models. PS paint is intended for clear polycarbonate RC bodies.

Q: Can I use TS paint on a polycarbonate RC body?
TS paint does not have the flexibility and adhesion needed for a flexible polycarbonate shell. Use PS paint for that job.

Q: Do I need primer under Tamiya paint?
Not every small part requires primer, but primer is strongly recommended for a scale car body. It improves adhesion, helps create an even base color and reveals surface flaws before the color coat goes on.

Q: How long should Tamiya paint dry?
Drying time depends on the paint, coat thickness and environment. Follow the instructions on the product and allow additional time before masking, polishing or applying a different paint system. When in doubt, waiting longer is usually cheaper than repainting the body.

Q: Do I need a clear coat over TS paint?
Not always. Some TS colors already dry glossy. Clear coat is useful when you want to protect decals, increase gloss or polish the finish. Certain specialty and metallic colors may react differently under clear, so test the combination first.

Q: Is Tamiya acrylic paint safe to spray indoors?
Airbrushing creates airborne paint particles even when the paint is called acrylic. Use a suitable spray booth, ventilation and respiratory protection. LP, TS and PS paints also release stronger solvent fumes and require precautions appropriate for organic vapors. Always follow the product label and safety information.

Share: